
Installing a toilet might seem like a straightforward home project until you get to the drain. That is when things start to feel complicated. Knowing how to install waste pipe for toilet properly is key to avoiding leaks, clogs, and costly water damage. With the right preparation and approach, the job can be done safely and efficiently, even if it is your first time tackling a bathroom project.
Understanding Your Toilet Drain System
Before you start, it is important to understand how toilet drains work. The waste pipe carries water and waste from your toilet to the main sewer line. Proper slope, secure connections, and the right materials are essential. Mistakes here can lead to leaks, odors, and even structural damage. Knowing how to add a toilet drain correctly helps prevent these issues before they start.
Gather the Right Tools and Materials
Having the right tools makes the project smoother and safer. You will likely need a saw or pipe cutter, a wrench, plumber’s tape, wax rings or rubber seals, PVC or ABS pipes, connectors, and sometimes a level or measuring tape. Gathering everything in advance saves trips to the hardware store and reduces frustration during installation.
Measure and Plan Your Layout
Before cutting or connecting anything, measure carefully. Know exactly where the new toilet will sit and where the waste pipe needs to go. Proper measurements ensure that pipes have the correct slope, which is crucial for drainage. The standard slope is about a quarter inch per foot, which allows water and waste to flow without causing backups. Planning also includes checking for obstacles such as floor joists, existing plumbing, and electrical lines. Taking the time to plan the route for your waste pipe makes installation faster and reduces the risk of mistakes.
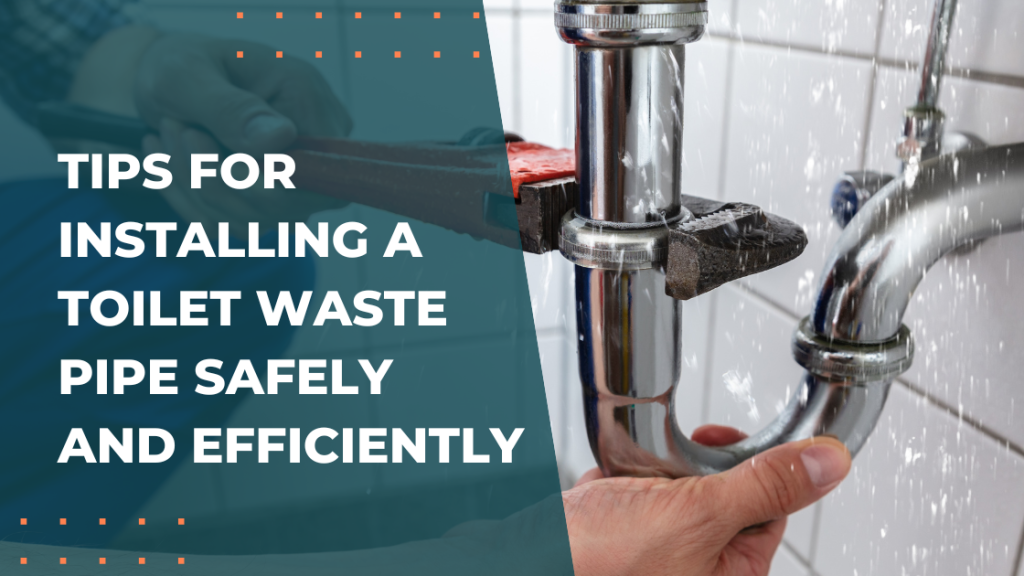
Cut and Prepare Pipes Properly
Cutting the pipe to the right length is essential. Use a pipe cutter or saw that creates a straight clean edge. Deburr the edges to avoid rough spots that can cause leaks. Clean the pipe ends and fittings before joining them with connectors, glue, or seals, depending on the pipe type. Proper preparation ensures a snug fit and long lasting connections.
Assemble and Connect the Waste Pipe
Once the pipes are cut and prepped, assemble them according to your layout. Make sure all connections are secure and seals are in place. Double check that the pipe slope is consistent and correct. A small error in slope can lead to slow drainage or clogs over time. If you are learning how to install a new toilet drain, take it slow. Dry fit the pieces first, then finalize with glue or seals. This allows adjustments without making permanent mistakes.
Check Venting and Proper Alignment
Toilet drains need proper venting to allow sewer gases to escape and maintain smooth drainage. Make sure the waste pipe aligns with the vent stack if required. Misaligned vents can cause gurgling, slow flushing, and bad odors. Ensuring proper venting is often overlooked by first timers but is critical for a functional system.
Secure the Pipes
Loose pipes can move over time, causing leaks or noise. Use brackets, clamps, or supports to secure the waste pipe. Pay attention to areas where the pipe meets walls, floors, or joists. A stable pipe system reduces stress on fittings and helps your toilet stay leak free.
Test for Leaks Before Installing the Toilet
Before setting the toilet in place, run a quick test. Pour water through the waste pipe and check all joints for leaks. Catching leaks at this stage is much easier than after the toilet is installed. Tighten connections or reapply seals as needed.
Install the Toilet Carefully
After confirming that the waste pipe is secure and leak free, you can install the toilet. Position the wax ring or rubber seal properly, lower the toilet onto the waste pipe, and press gently but firmly to create a tight seal. Secure the toilet to the floor with bolts and caps, making sure it is level. Follow manufacturer instructions for your specific toilet model. Taking care with alignment and sealing prevents leaks and ensures the toilet sits solidly on the floor.
Final Testing and Maintenance
Once installed, flush the toilet several times and check for leaks around the base and connections. Make sure water flows freely through the drain without backup or gurgling. Properly installed pipes and seals should remain dry and stable.
Regularly inspect your toilet base and waste pipe connections for any signs of wear or leaks. Catching small issues early keeps your bathroom running smoothly and avoids bigger plumbing problems.
Safety Tips
Working with waste pipes involves heavy materials and sometimes tight spaces. Wear gloves and eye protection. Keep tools organized and work carefully to avoid injury. If the project involves cutting concrete or working under the floor, take extra precautions or call a professional for guidance.
When to Call a Professional
Even with good instructions, some toilet waste pipe installations are better left to experienced plumbers. If you encounter unusual layouts, old or damaged pipes, or complex venting issues, calling a professional ensures the job is done safely and correctly.