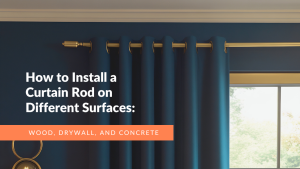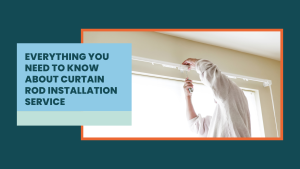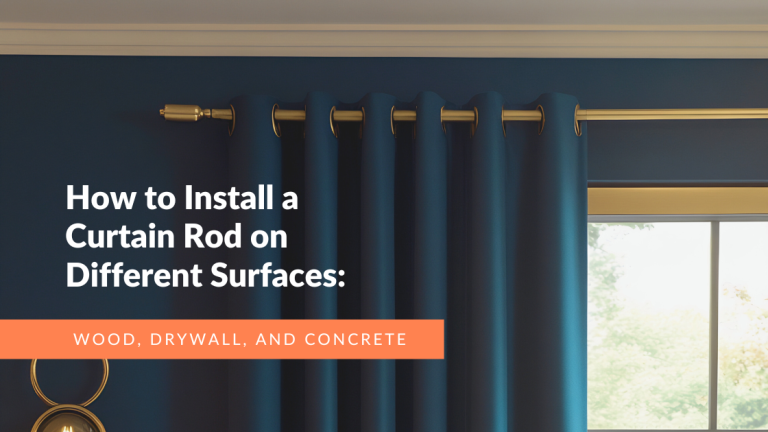

Hanging curtains might seem simple, but getting the rods right can make a huge difference in how your room looks. Proper placement, leveling, and securing of curtain rods ensures your curtains hang straight and look professional. Learning how to install curtain rods correctly gives your windows a polished, finished appearance that complements your space.
Whether you are replacing old rods or installing new ones for the first time, understanding the steps and tools required makes the process smooth and stress-free. This guide breaks down everything from measuring to finishing touches.
Gather Your Tools and Materials
Before starting, gather all the necessary tools. You will need a drill, screwdriver, measuring tape, level, pencil, wall anchors, screws, and the curtain rod kit itself. Having everything ready saves time and prevents interruptions during installation. Knowing how to put up curtain rods starts with preparation. Double-check that your hardware matches your wall type, especially if you have drywall, plaster, or concrete surfaces.
Measure and Mark
Accurate measurements are key to a polished look. Measure the width of your window and decide how far beyond the frame you want the rod to extend. Extending the rod 4 to 6 inches past the window frame on each side helps the curtains fully clear the window when open. Mark the spots for the brackets on both sides of the window. Use a level to ensure marks are perfectly horizontal. Taking the time to measure carefully prevents crooked rods or uneven curtains later.
Check the Wall Type
The type of wall will affect which anchors and screws you use. Drywall requires plastic or toggle anchors, while concrete or brick needs masonry anchors. For wooden studs, you can often screw directly into the wood for a secure hold. Understanding your wall type is an essential part of how to attach curtain rods safely and securely. Using the wrong hardware can lead to sagging rods or damage to your walls.
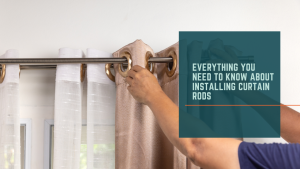
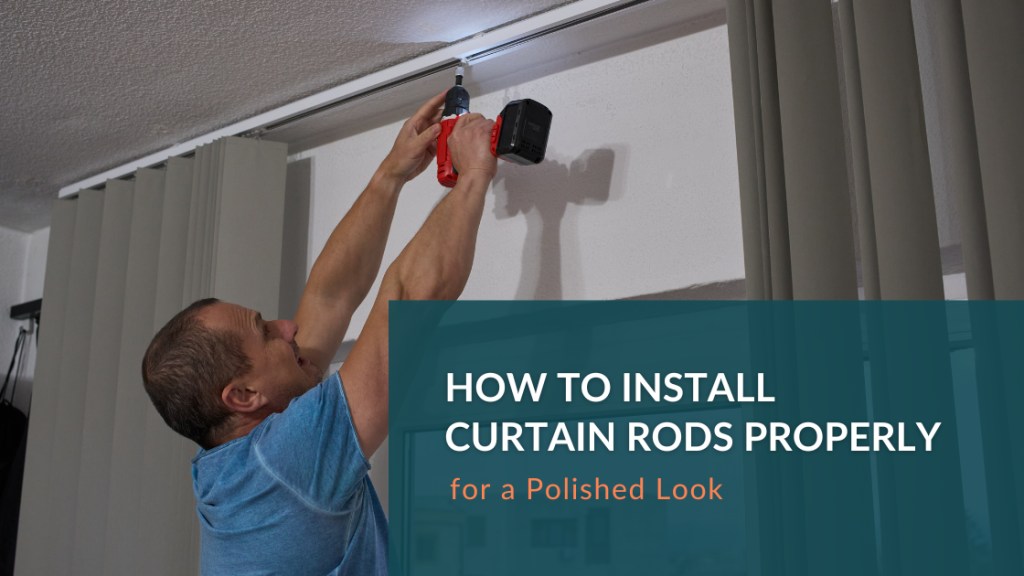
Install the Brackets
Start with the brackets. Drill pilot holes if needed, insert anchors, and secure the brackets with screws. Double-check that the brackets are level before fully tightening. Proper bracket installation ensures that your rod supports the weight of the curtains evenly and avoids sagging over time.
Place the Rod
Slide your curtains onto the rod if the design requires it before placing it on the brackets. Carefully lift the rod and rest it on the mounted brackets. For rods with decorative finials, ensure they are securely attached to prevent the rod from sliding out of place. Check alignment once more to make sure the rod is straight and even. Minor adjustments now save headaches later.
Adjust for Curtain Weight
Heavier curtains may require extra support. Consider installing a center bracket for long rods to prevent sagging. Lightweight sheers generally do not need additional support, but it is always good to check the stability after installation. Balancing the curtain weight properly ensures that the rods stay straight and secure for long-term use.
Final Touches
After the rod is installed, arrange your curtains neatly. Adjust pleats, folds, or gathers to create a polished appearance. Step back and view your window from different angles to ensure everything looks even and aligned. Adding simple finishing touches like tiebacks or decorative hardware enhances the overall look and gives your room a professional finish.
Maintenance Tips
Periodically check brackets and screws to ensure they remain tight. Dust or wipe the rod and finials as needed to maintain their appearance. For heavier drapes, inspect supports to prevent bending or loosening over time. Consistent maintenance ensures that your rods and curtains continue to look polished and function smoothly.