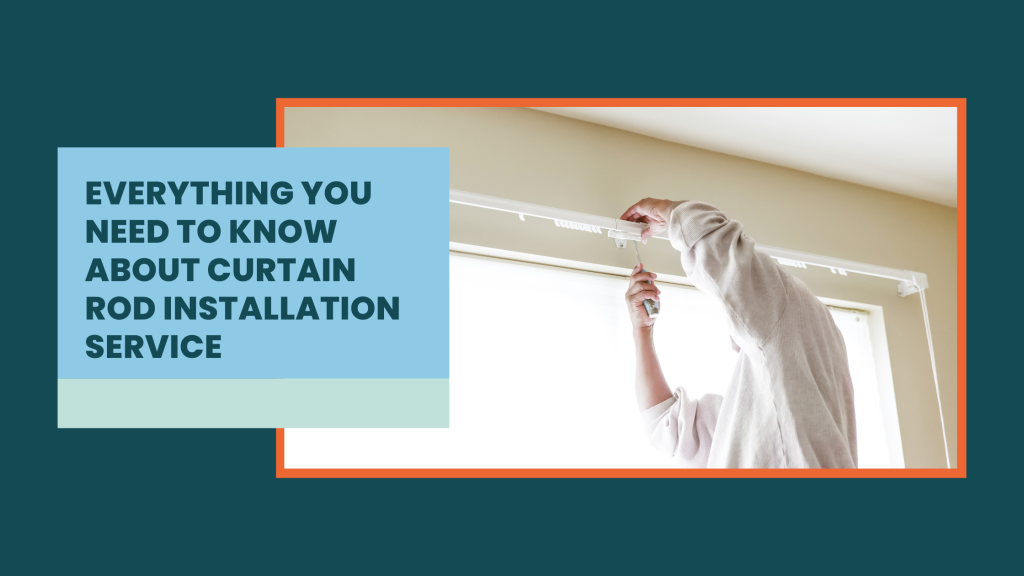
Introduction to Curtain Rod Installation Service
Curtains add beauty, privacy, and functionality to any living space, but the impact of curtains is only as good as the hardware supporting them. A curtain rod installation service ensures that window treatments are properly fitted, stable, and aligned with the style of your home. Many homeowners assume that installing a curtain rod is a quick project, yet the process requires precision, the right tools, and knowledge of different wall materials.
Searching online for how to curtain rod installation service may provide step-by-step tutorials, but even with instructions, mistakes are common. Uneven placement, loose brackets, or damage to the wall can quickly turn a simple project into a frustrating experience. This is why relying on a professional curtain rod installation service offers peace of mind. Skilled technicians provide expertise and accuracy, ensuring your curtains not only look perfect but also function smoothly for years.
Tools and Materials Required
Curtain rod installation involves more than just screws and brackets. To achieve a polished finish, you need the correct tools and materials. Commonly used items include:
- Measuring tape for precise window dimensions.
- Pencil or chalk for marking drill points.
- Power drill with the correct drill bits.
- Wall anchors, screws, and brackets suitable for your wall type (drywall, plaster, wood, or concrete).
- Level to ensure rods are straight.
- Stud finder for locating secure mounting points.
- Curtain rods, finials, and mounting hardware.
Professionals arrive equipped with these tools and additional supplies for unique scenarios. For example, older homes with plaster walls may require special anchors, while large or heavy drapery calls for reinforced brackets. Having the right materials from the start helps avoid unnecessary delays or improper setups.
Step-by-Step Instructions
While the actual process varies depending on the type of curtain rod and wall surface, the general steps for installation remain similar. Here is a typical outline:
- Measure and Mark: Begin by measuring the width of the window and deciding how far the curtain rod should extend beyond the frame. Use a pencil to mark where the brackets will go.
- Check Alignment: With a level, confirm that both sides are even. Small misalignments become noticeable once the curtains are hung.
- Drill Pilot Holes: Based on the markings, drill holes for the screws. For drywall or plaster, wall anchors may be necessary.
- Install Brackets: Secure the brackets into the holes, making sure they are tight and sturdy.
- Attach Curtain Rod: Place the rod into the brackets, ensuring it locks into position. Add finials if required.
- Hang Curtains: Once the rod is secured, slide on the curtains or attach them using hooks or rings.
Although this outline looks simple, problems can arise during the process. Walls may crumble during drilling, rods may sag under the weight of thick curtains, or misalignments may force you to redrill holes. This is why many people prefer to let experts handle the process.
Safety Tips and Best Practices
Installing curtain rods may not seem risky, but safety precautions are always important. Common mistakes such as using the wrong anchors or ignoring load capacity can lead to rods pulling away from the wall, damaging both the curtains and the surface.
Here are a few important safety tips and best practices:
- Use a Stud Finder: Whenever possible, secure brackets into wall studs for maximum stability.
- Choose the Right Anchors: For drywall, always use wall anchors instead of screws alone.
- Mind the Weight: Match curtain rod and bracket strength to the weight of your curtains. Heavy drapery requires stronger hardware.
- Work at the Right Height: If using a ladder, ensure it is placed on stable ground and never overreach while drilling.
- Double-Check Alignment: Once the first bracket is installed, verify alignment before attaching the second.
Professionals naturally follow these practices and can adapt to challenging scenarios such as angled walls, wide windows, or bay window installations. Their experience minimizes risks while ensuring your curtains look elegant and secure.
Final Thoughts and Maintenance Tips
A professional curtain rod installation service saves time, prevents costly mistakes, and guarantees lasting results. While it may be tempting to treat installation as a do-it-yourself task, precision matters. Uneven rods or unstable brackets not only affect the appearance of a room but also reduce the functionality of your curtains.
To maintain curtain rods after installation:
- Periodically check screws and brackets to ensure they remain tight.
- Dust rods regularly to prevent buildup, especially around finials.
- Inspect for sagging or bending if heavy curtains are used.
- Replace worn or damaged hardware promptly to prevent accidents.
- Avoid pulling curtains too roughly, as this may loosen brackets over time.
By following these maintenance tips, your curtain rods will remain sturdy and stylish for years. Investing in expert installation is not just about convenience; it is about achieving a professional finish that enhances your living space. For homeowners wondering how to curtain rod installation service, the answer is simple: trust the professionals to deliver precision, safety, and long-lasting beauty.


