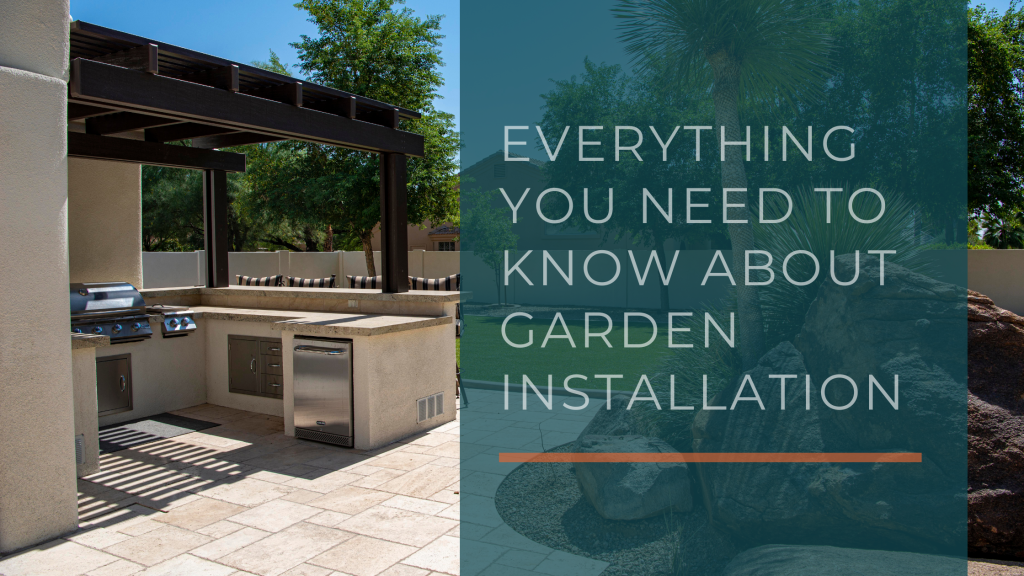
Introduction to Garden Installation
Creating a garden is one of the most rewarding home improvement projects you can undertake. Whether you are looking to beautify your outdoor space, grow fresh vegetables, or establish a relaxing retreat, proper garden installation is essential. A well-planned and executed garden provides not only aesthetic appeal but also long-term sustainability.
Many people begin by searching online for how to garden installation, but they quickly discover that it is more complex than simply planting flowers or shrubs. It requires careful planning, knowledge of soil conditions, climate considerations, and ongoing maintenance. For those who want guaranteed results, choosing professional garden installation ensures that every step, from design to planting, is done with precision and expertise.
Tools and Materials Required
Before starting the installation process, gathering the right tools and materials will save time and effort. Having these ready ensures you can focus on creating a healthy, beautiful garden.
Essential tools include:
- Shovel and spade for digging and soil preparation
- Rake for leveling soil and removing debris
- Wheelbarrow for transporting soil, mulch, and plants
- How to break up compacted soil and create rows
- Pruners and shears for shaping plants
- Measuring tape for accurate spacing
- Garden gloves for protection
- Hose or watering can with adjustable nozzle
Materials often required:
- High-quality soil or compost to enrich planting areas
- Fertilizers or soil amendments, depending on plant needs
- Mulch to retain moisture and prevent weeds
- Stakes and twine for supporting young plants
- Garden edging for clean boundaries
- Selected plants, flowers, shrubs, or seeds
While many tools are common in home gardens, a professional garden installation team brings specialized equipment and expert knowledge, ensuring the project runs smoothly from start to finish.
Step-by-Step Instructions
Step 1: Plan Your Garden
Decide what type of garden you want: ornamental, vegetable, herb, or a mix of all. Consider the layout, available sunlight, and soil conditions. Draw a simple sketch to visualize the design and placement of plants.
Step 2: Prepare the Site
Clear the area of weeds, rocks, and debris. Use a shovel to turn over the soil, breaking up clumps. If the soil is poor, add compost or organic matter to improve texture and nutrient content.
Step 3: Install Edging and Pathways
Defining the garden space helps keep it neat and manageable. Edging materials such as stone, wood, or plastic create clear borders. If your design includes pathways, lay gravel, mulch, or stepping stones before planting.
Step 4: Place Plants and Features
Arrange your plants according to the design. Taller plants should go at the back or center, with shorter plants in front. Consider spacing requirements to avoid overcrowding. Install garden features such as trellises, birdbaths, or raised beds at this stage.
Step 5: Plant and Water
Dig holes according to the plant’s root ball size, then place each plant carefully. Fill in soil and press gently to remove air pockets. Water thoroughly to help plants establish in their new environment.
Step 6: Apply Mulch
Spread mulch around plants to retain soil moisture, regulate temperature, and suppress weeds. Maintain a 2–3-inch layer but avoid piling it directly against stems.
Step 7: Maintain Regularly
Check soil moisture daily, especially in the first few weeks. Remove weeds, prune damaged leaves, and fertilize as necessary to promote healthy growth.
Safety Tips and Best Practices
Although gardening is enjoyable, certain safety practices are necessary to prevent injury and ensure long-term success.
- Wear Protective Gear: Gloves, closed-toe shoes, and protective eyewear prevent cuts and scrapes.
- Use Tools Properly: Keep tools sharp and use them as intended to avoid accidents.
- Lift Carefully: Use proper posture when moving heavy soil bags or stones to prevent back strain.
- Beware of Chemicals: Use fertilizers and pesticides responsibly, following all safety guidelines.
- Mind Irrigation Systems: Be cautious when installing hoses or sprinklers to avoid leaks and water waste.
- Check Plant Placement: Ensure plants are suitable for your climate and soil to prevent early failure.
Hiring a professional garden installation team ensures all safety measures and best practices are followed, reducing stress and mistakes.
Final Thoughts and Maintenance Tips
A successful garden installation transforms your outdoor space into a functional and beautiful environment. Whether you are creating a vegetable patch for fresh produce, an ornamental garden for curb appeal, or a mixed landscape, proper planning and execution are crucial. While DIY efforts can be fulfilling, professional services save time, prevent costly mistakes, and provide expert results.
For long-lasting success, follow these maintenance tips:
- Water regularly: Deep watering promotes strong root systems.
- Fertilize Appropriately: Apply fertilizers according to plant needs and seasonal requirements.
- Weed Frequently: Removing weeds early prevents competition for nutrients.
- Prune Plants: Trim dead or overgrown branches to encourage new growth.
- Rotate Crops in Vegetable Gardens: Changing plant locations yearly maintains soil health.
- Monitor for Pests: Identify issues early to prevent infestations.
In summary, learning how to garden installation equips you with the knowledge to start a thriving outdoor space. For those who want lasting results without the hassle, professional garden installation services provide the expertise and tools needed to bring your dream garden to life.


