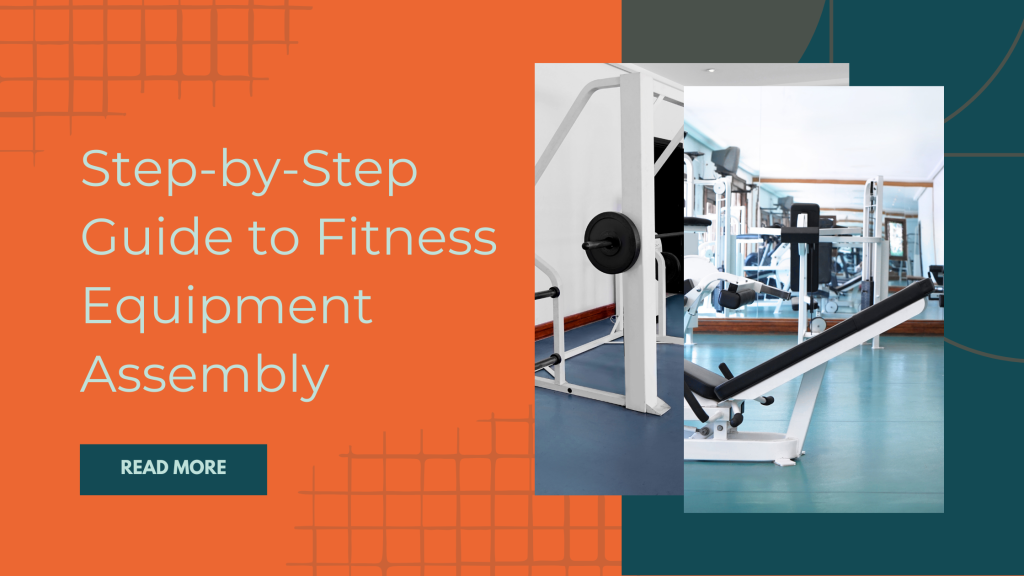
Introduction to Fitness Equipment Assembly
Home gyms and workout spaces are more popular than ever, thanks to the growing demand for health and wellness. While purchasing treadmills, weight benches, or multi-station gyms is exciting, assembling the equipment can be a challenge. A proper fitness equipment assembly ensures that machines work smoothly, safely, and last for years.
Many people search online for how to fitness equipment assembly, hoping for quick do-it-yourself instructions. However, even the simplest machines often involve multiple parts, heavy components, and technical connections. Missteps during setup can lead to instability, reduced performance, or even injury. This is why many homeowners and fitness centers choose professional fitness equipment assembly to guarantee accuracy and safety.
Tools and Materials Required
Successful assembly requires the right tools and patience. Having all tools and materials ready before starting will make the process smoother and prevent delays.
Essential tools include:
- Adjustable wrenches and socket sets
- Screwdrivers (flathead and Phillips)
- Allen wrenches (often included with equipment)
- Rubber mallet for securing parts without damaging surfaces
- Pliers for gripping small components
- Power drill with bits (if necessary)
- A measuring tape for ensuring proper spacing
- Level for making sure the equipment is even
Materials and extras often required:
- Lubricant or grease for moving parts
- Bolts, washers, and nuts (usually provided by the manufacturer)
- Protective floor mats to prevent scratches or instability
- Instruction manual and assembly diagrams
While most equipment ships with the required bolts and Allen wrenches, more complex machines may demand additional tools that homeowners may not have. Professional assemblers arrive fully prepared, eliminating the guesswork.
Step-by-Step Instructions
Although the process varies by equipment type, the general steps for fitness equipment assembly are similar across most machines.
Step 1: Prepare the Space
Clear an area large enough to work comfortably. Place mats or blankets on the floor to protect both the equipment and the flooring. Ensure there is adequate lighting to read instructions and see small parts.
Step 2: Unpack and Organize
Lay out all parts and hardware. Compare them with the instruction manual to confirm that nothing is missing. Organizing bolts and washers into labeled groups will save time later.
Step 3: Assemble the Base
Most machines begin with a sturdy frame or base. Secure the largest pieces first, using washers and bolts as directed. Double-check alignment before tightening completely.
Step 4: Add Functional Components
Attach arms, seat supports, or platforms depending on the type of machine. For cardio machines, this may include connecting handles or footrests. For strength equipment, it may mean setting up weight supports or pulleys.
Step 5: Install Moving Parts
Secure cables, pulleys, belts, or other moving parts according to the manual. Apply lubricant where recommended to reduce friction.
Step 6: Secure Accessories
Add consoles, water bottle holders, or additional attachments. Connect electronic components carefully, ensuring cords are not pinched or overstretched.
Step 7: Test the Equipment
Before using, test the equipment by running it without weight or power. For cardio machines, ensure the belt runs smoothly. For strength machines, confirm cables move freely without slipping.
Following the instructions carefully is crucial. Skipping steps or rushing the process can compromise safety and shorten the lifespan of the equipment.
Safety Tips and Best Practices
Even though assembly might appear straightforward, mistakes can lead to safety hazards. The following best practices help ensure a safe process:
- Follow the Manual Closely: Do not assume parts can be installed intuitively. Every machine has specific requirements.
- Tighten Bolts Gradually: Secure bolts loosely during assembly and fully tighten them once everything is aligned.
- Work with a Partner: Many machines are heavy and awkward to lift. A second person makes assembly safer and faster.
- Check for Stability: Once built, ensure the machine does not wobble or tilt during use.
- Use Protective Gear: Gloves can prevent hand injuries from sharp edges or heavy parts.
- Avoid Overloading Circuits: For motorized equipment, ensure the outlet supports the voltage and amperage requirements.
Professionals follow these practices naturally, which is why many people choose expert assembly services. They have experience troubleshooting common issues and know how to prevent costly mistakes.
Final Thoughts and Maintenance Tips
A well-assembled piece of fitness equipment enhances your workout experience and ensures safety. By following the right steps and using the correct tools, you can build machines that last. However, for those who are short on time or prefer guaranteed results, hiring a professional fitness equipment assembly service is the best option.
Once assembled, maintaining your equipment is just as important:
- Inspect Bolts Regularly: Check connections and tighten if needed.
- Lubricate Moving Parts: Keep pulleys, belts, and joints smooth to prevent wear.
- Clean Consoles and Surfaces: Sweat and dust can damage electronics and finishes.
- Monitor Wear and Tear: Replace cables, belts, or pads when they show signs of damage.
- Follow Manufacturer Guidelines: Always adhere to recommended weight limits and usage instructions.
In conclusion, understanding how to fitness equipment assembly can save time and reduce frustration, but expert assistance guarantees a professional finish. Whether setting up a treadmill, multi-gym system, or elliptical, proper assembly is essential for performance, durability, and safety. By combining careful setup with consistent maintenance, your fitness equipment will serve you reliably for years to come.


