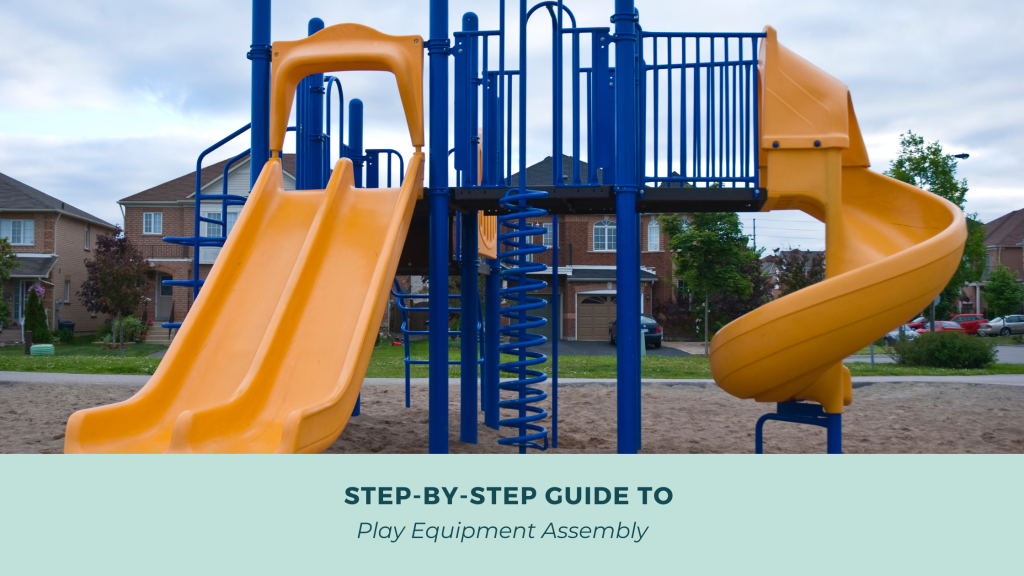
Introduction to Play Equipment Assembly
Play equipment plays an essential role in children’s physical development, creativity, and overall well-being. From swing sets and slides to climbing frames and playhouses, these structures provide safe spaces for kids to explore, socialize, and grow. However, assembling play equipment can be challenging if you are not familiar with the process. Mistakes during play equipment assembly may lead to safety risks, structural instability, or reduced durability.
Many parents attempt to do it themselves, but without the proper knowledge, they may struggle with alignment, anchoring, or securing small parts. Learning how to play equipment assembly correctly ensures safety and long-term usability. For those who want guaranteed stability and professional craftsmanship, hiring a professional play equipment assembly service is a wise choice.
Tools and Materials Required
Assembling play equipment requires preparation. Having the right tools and materials before starting prevents unnecessary delays and avoids frustration.
Common tools needed include:
- Screwdrivers (flathead and Phillips)
- Adjustable wrench or socket set
- Power drill with drill bits
- Rubber mallet
- Allen keys (often provided with kits)
- Measuring tape and level
- Utility knife or scissors for unpacking
- Hammer
- Ladder (for taller play structures)
Additional materials may include:
- Anchoring kits (stakes, concrete, or sandbags for stability)
- Safety padding or rubber mats for ground protection
- Weather-resistant sealants (for wood play sets)
- Replacement screws or bolts
- Protective gloves and safety glasses
A professional play equipment assembly service generally provides these tools and more, ensuring efficient and secure installation.
Step-by-Step Instructions
Step 1: Choose a Safe Location
Select a flat, open area free from rocks, tree roots, and uneven ground. Ensure the location is away from fences, sheds, or other obstacles that could pose hazards during play.
Step 2: Unbox and Organize Parts
Carefully open the packaging and arrange all parts on the ground. Check the instruction manual against the components to confirm nothing is missing. Sorting screws, bolts, and small hardware into separate containers helps prevent mix-ups.
Step 3: Prepare the Ground
Level the ground if necessary, and consider placing protective mats or soft surfacing beneath the equipment to reduce injury risks. For larger sets, dig holes for posts if anchoring into the ground.
Step 4: Build the Base Structure
Start by assembling the main frame. Follow the manufacturer’s instructions step by step, ensuring each joint is tightly secured. A level is crucial at this stage to guarantee even construction.
Step 5: Attach Climbing and Swing Components
Once the frame is stable, begin attaching swing arms, climbing ladders, or slide bases. Be careful not to overtighten bolts, which may crack wooden or plastic parts.
Step 6: Secure Anchoring Systems
Anchoring is vital for stability. Depending on the type of play equipment, you may use stakes, cement, or sandbags to secure it to the ground. This prevents tipping during heavy use.
Step 7: Install Slides, Swings, and Accessories
Add final features such as slides, swings, or climbing ropes. Double-check that moving parts like swing chains are attached securely and adjusted to a safe height for children.
Step 8: Inspect and Test
Once fully assembled, test the equipment by applying weight and movement to each section. Ensure there are no sharp edges, loose screws, or wobbling parts.
Safety Tips and Best Practices
Safety should always be the top priority during and after play equipment assembly. Here are essential guidelines:
- Keep children away during assembly: Tools and small parts can be hazardous.
- Follow weight limits: Do not exceed manufacturer recommendations for swings or platforms.
- Use proper anchoring: An unanchored set may tip over during play.
- Smooth sharp edges: Sand down rough wooden areas or cover metal edges with caps.
- Regularly check stability: Inspect bolts, screws, and anchors every month.
- Install on soft ground: Grass, rubber mats, or mulch reduce the impact of falls.
Hiring a professional play equipment assembly service ensures these safety measures are followed strictly, giving parents peace of mind.
Final Thoughts and Maintenance Tips
Play equipment offers years of fun and growth opportunities for children, but only when it is properly assembled and maintained. While learning how to play equipment assembly can be rewarding for some families, entrusting the job to experts ensures safety, stability, and long-lasting enjoyment.
To extend the life of your play structures, consider the following maintenance practices:
- Inspect frequently: Look for loose bolts, worn ropes, or cracked plastic.
- Clean regularly: Wash surfaces to remove dirt, pollen, or mildew.
- Protect from weather: Apply sealants to wood and rust-resistant coatings to metal.
- Replace worn-out parts: Chains, ropes, and seats should be swapped when signs of wear appear.
- Supervise playtime: Always monitor young children while they use the equipment.
In conclusion, whether you decide to build it yourself or hire experts, correctly assembling and maintaining play equipment ensures your children enjoy safe, engaging play experiences for years to come.


