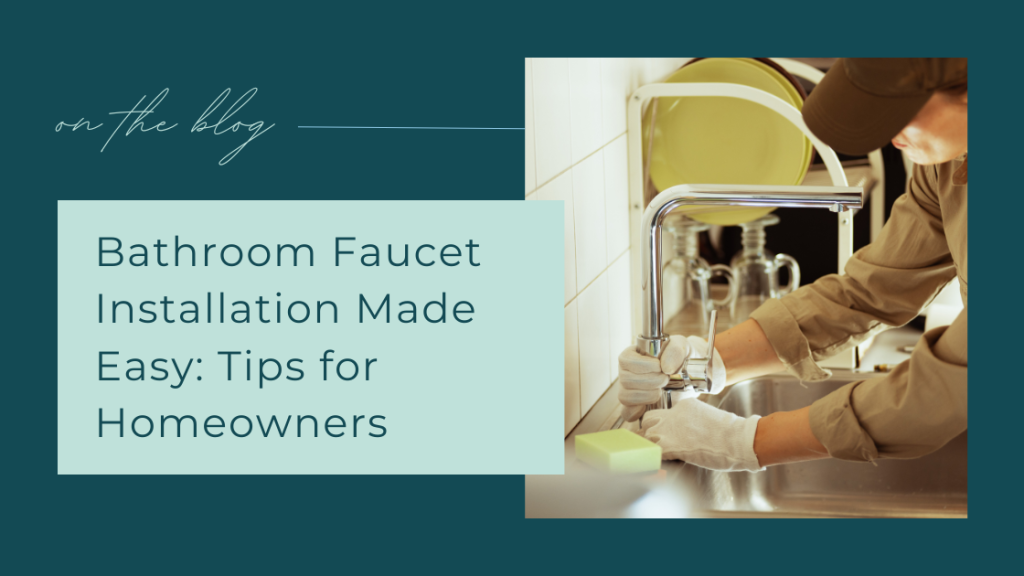
Installing a new bathroom faucet might sound like a job for a plumber, but with a little patience and the right tools, most homeowners can handle it themselves. Whether you’re upgrading your old faucet for a fresh look or fixing a leaky one, learning how to install a faucet is a great way to save money and add a touch of DIY pride to your home. And if at any point things feel tricky, you can always get professional help to install bathroom faucet through experts who do this every day.
Getting Ready for the Installation
Before you jump into the process, make sure you’ve got everything you need. Nothing slows you down like realizing you’re missing a wrench halfway through. Gather tools like an adjustable wrench, basin wrench, plumber’s tape, a bucket, and a towel. It’s also smart to have your new faucet and any included hardware ready to go.
The very first thing to do; seriously, don’t skip this: is to turn off the water supply. You’ll usually find the shut-off valves under the sink. Turn both the hot and cold handles clockwise until they stop. Once that’s done, turn on your existing faucet to release any leftover water pressure.
Removing the Old Faucet
Now comes the part where you get a little messy. Slide under the sink with your wrench and disconnect the water lines from the old faucet. Place your bucket or towel underneath to catch any dripping water. Then, unscrew the nuts or mounting brackets holding the faucet in place. Depending on how long your old faucet has been there, it might be a bit stubborn; corrosion and old plumber’s putty can make it stick. A little patience and a basin wrench go a long way here.
Once the old faucet is off, clean the sink area. You’d be surprised how much gunk and buildup collect under the fixture over the years. A clean surface helps the new faucet sit securely and seal properly.
Installing the New Faucet
Here’s the fun part; getting your shiny new faucet in place. Most modern faucets are designed to make the process simple. Follow the manufacturer’s instructions carefully, but the general process is similar for most models.
Insert the new faucet into the mounting holes on the sink. Make sure it’s centered and aligned the way you want it. From underneath, secure it with the provided nuts or brackets. Tighten them just enough to hold the faucet firmly but don’t overdo it: you don’t want to crack the sink or strip the threads.
Next, connect the water supply lines. Wrap plumber’s tape around the threads for a good seal, then attach the hot and cold lines to their respective valves. If you’re wondering bathroom faucet how to install correctly without leaks, this step is key—tighten each connection snugly but not too tight.
Checking for Leaks and Testing the Faucet
Once everything’s connected, it’s time to turn the water back on. Slowly open the shut-off valves and let the water flow through the new faucet. Keep an eye underneath the sink to make sure there aren’t any leaks around the connections. If you spot a drip, gently tighten the fitting a bit more.
Run both the hot and cold water for a minute to flush out any air or debris that might have gotten in during installation. Make sure the water pressure feels normal and the faucet handles move smoothly. If everything checks out, you’re done!
What to Do If Things Don’t Go as Planned
Sometimes, even when you follow every step, things can get tricky. Maybe your old faucet’s connections don’t match the new one, or the valves under your sink are old and start leaking when you touch them. These hiccups are pretty common, especially in older homes.
If you hit a snag or just don’t feel confident tackling it yourself, it’s perfectly fine to call for professional help. A team like Fixtman can install bathroom faucet quickly and safely, saving you time and stress. They handle everything from removing the old faucet to ensuring a watertight finish.
Tips for a Smoother Installation
To make the process go even smoother, keep these quick tips in mind:
Always double-check the faucet type before buying. Make sure it fits your sink’s hole configuration; some have one hole, others three. If your faucet includes a pop-up drain assembly, install it before connecting the water lines. It’s easier that way. Use a towel or cloth under your tools while tightening nuts to avoid scratching the sink. After installation, apply a thin bead of clear silicone around the faucet base if the manufacturer recommends it. This keeps water from seeping underneath.
Enjoying Your New Faucet
Once everything’s in place and leak-free, take a step back and admire your work. Installing a faucet might seem like a small change, but it can make your whole bathroom look refreshed. Plus, knowing how to install a faucet yourself gives you a handy new home improvement skill.
Your new fixture will work better and look great when properly installed. And the best part? You don’t have to wait for anyone else; you did it on your schedule.
But remember, if you’re ever unsure or dealing with a more complex setup, professional installers are just a call away. Whether it’s a quick upgrade or a full bathroom renovation, a trained team can take care of the details so you can focus on enjoying your new space.
Wrapping It Up
Learning bathroom faucet how to install is easier than most people think. With the right tools, a bit of patience, and maybe a few YouTube tutorials, you can handle it like a pro. Just remember to shut off the water, take your time with each step, and check for leaks before calling it done. If you’d rather skip the hassle altogether, you can always count on experts who install bathroom faucet professionally. They’ll make sure everything’s installed correctly and working perfectly from the start.


