Setting up your home gym equipment is the first critical step toward creating a safe and functional workout space. While the arrival of your treadmill, elliptical, or multi-gym system marks exciting progress, the assembly process requires careful attention to detail to ensure everything operates as intended.
From organizing components to following technical instructions, each step plays a role in achieving a smooth setup. Whether you plan to assemble it yourself or rely on a Fitness Equipment Assembly Service, starting with a structured approach will help you avoid common mistakes and streamline the entire process.
Before diving into installation, it’s important to begin with the basics, unboxing and organizing every part properly to set a strong foundation for the steps ahead.
READ ALSO: How to Create a Home Gym? Step by Step for Beginners
Planning Your Space for Equipment
Before purchasing any gear, the first step is deciding where your home gym will live. The space you choose affects not only what you can buy, but how comfortably and safely you’ll be able to use it.
1. Measure Everything
Start by measuring your space. Include the length, width, and ceiling height. Don’t forget to leave extra room for movement and stretching, not just the footprint of the equipment. For example, a treadmill may be 6 feet long, but you’ll want a couple of feet of clearance behind it for safety.
2. Check Flooring
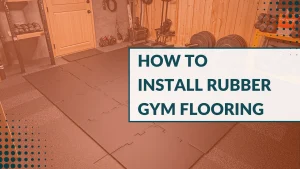
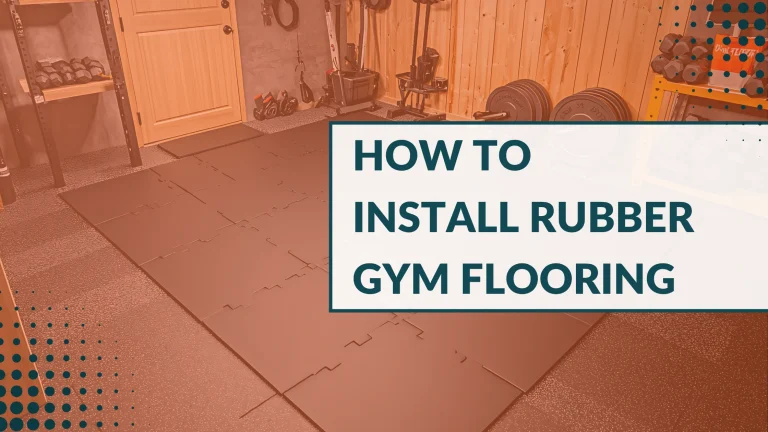
Your floors should be level, sturdy, and ideally non-slip. Concrete basements and garage floors are popular gym spots, but it’s smart to add rubber mats or interlocking foam tiles for cushioning and traction. These help protect both your floor and your equipment.
3. Consider Noise and Ventilation
Some gym machines can be loud. If you live in an apartment or have shared walls, choose quieter machines or consider soundproofing. Good airflow is also essential, so look for a room with windows or consider adding a fan system. A cool, well-ventilated space will improve your comfort and workout quality.
4. Power and Connectivity
Make sure you have enough outlets to support powered machines like treadmills, ellipticals, or smart workout mirrors. If you plan to stream classes or track your performance, a strong Wi-Fi connection is also important.
Thinking ahead about your space ensures your home gym installation service goes smoothly and saves you time and effort during setup.
READ ALSO: Best Treadmills & Exercise Equipment for Your Spring Workouts 2025
Guide to Gym Equipment Installation
1. Unbox and Organize
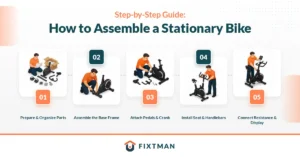
The first step to a hassle-free setup is getting organized. Start by unboxing everything carefully and laying out all the parts. It’s tempting to dive straight into building, but a few minutes of prep will save you hours later. Check the manual and match each piece with what’s listed. Most fitness equipment comes with a ton of nuts, bolts, and washers: make sure they’re all there before you start.
This is also a great time to inspect everything for damage. If something’s bent, cracked, or missing, contact the seller right away. There’s nothing worse than realizing halfway through your gym equipment assembly that you’re missing a key bolt or cable.
2. Read the Manual
It might seem obvious, but skipping the manual is one of the biggest mistakes people make. Every brand and model is slightly different, and the diagrams can save you a lot of guessing. Keep it nearby and follow the steps in order. Most manuals use simple illustrations showing which bolts go where, and often label parts with numbers or letters.
If you’re more of a visual learner, look up your model online; many brands have video tutorials that walk you through the setup. It’s a smart move that can help you avoid confusion and make the whole process faster.
3. Set Up in the Right Spot
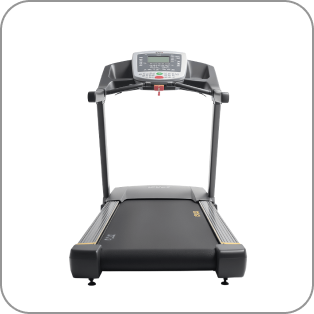
Before you start building, decide exactly where your equipment will go. Gym machines are heavy and awkward to move once assembled. Treadmills and ellipticals especially can be tough to fit through doors after setup, so it’s better to assemble them right where you plan to use them.
Make sure there’s enough space around the machine for movement and safety. A cramped area can make workouts uncomfortable and even dangerous. You’ll also want to check if your floor can handle the weight and vibration; placing a rubber mat underneath is a smart idea to protect your flooring and reduce noise.
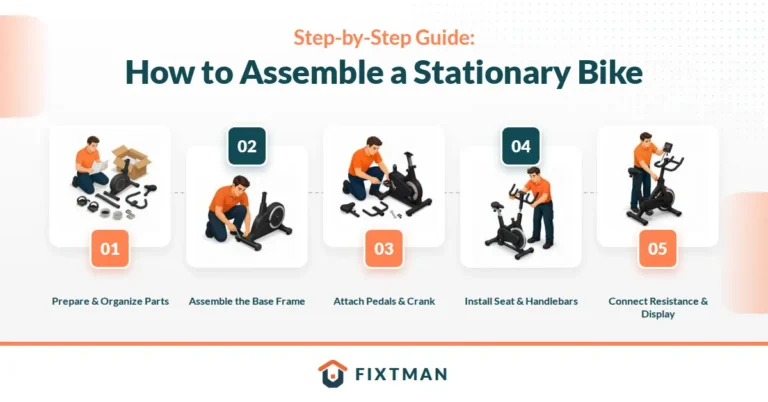
4. Assemble Step-by-Step
When it’s finally time to start assembling, take it one step at a time. Begin with the base and work your way up, tightening bolts as you go. It’s usually best not to fully tighten each bolt until all parts are aligned; this gives you room to adjust if needed.
For machines with cables, like weight systems, follow the routing instructions carefully. It’s easy to misthread a cable, which can affect how the machine functions or even make it unsafe. Check that all pulleys move smoothly before tightening things down.
Keep a towel or small box nearby for your bolts and washers so they don’t roll away; because losing a single washer can be surprisingly frustrating.
5. Testing and Adjusting
Once everything’s built, don’t hop on and start your workout just yet. First, give your equipment a quick check. Make sure every bolt is secure, cables are tight, and the machine feels stable.
For treadmills or ellipticals, test the power and make sure all digital displays work properly. If it’s a strength machine, test the pulleys and weights with a light load before doing a full workout. This helps catch any small issues early and keeps you safe.
Installation Tips for Large Machines
Once you’ve chosen your space and ordered your equipment, it’s time to think about installation. Large fitness machines often require more than just a few bolts and an instruction manual.
1. Unbox Carefully
Large machines arrive in multiple boxes. Open everything carefully and check that you have all the parts before beginning. Lay pieces out in an organized way to make assembly easier. Keep packaging nearby until the setup is complete in case returns or replacements are needed.
2. Follow Instructions Step-by-Step
This may sound obvious, but skipping steps or improvising can result in instability or safety issues. Be sure to fully tighten bolts only after you’ve aligned and attached all the necessary parts. Rushing the process can lead to misaligned parts or wobbling frames.
3. Use the Right Tools
Some machines come with basic tools, but having your own wrench set or power drill can make the job faster and more efficient. If you’re assembling multiple machines, investing in better tools will save you time and frustration.
4. Don’t Go It Alone
Most large fitness machines require two or more people to move and assemble. Not only is this safer, but it also prevents damage to your walls, floors, or the equipment itself.
5. Consider Professional Help
A fitness equipment setup expert knows exactly how to build your machines safely and quickly. Professionals are familiar with a wide range of brands and models and can make sure everything is level, balanced, and properly secured. Many people search for a home gym installation service to avoid the stress and physical strain that often comes with setting up bulky equipment.
READ ALSO: Struggling With Fitness Equipment Assembly We’re Here to Help
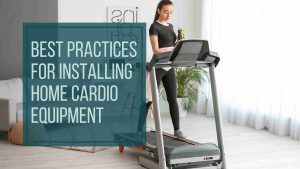
READ ALSO: Best Practices for Installing Home Cardio Equipment
Why Setup Matters for Safety
Even if you’re confident with tools, proper installation plays a major role in preventing accidents and injuries in your gym space. Let’s talk about why it’s more than just aesthetics or convenience.
1. Stability is Critical
Machines that aren’t level or fully tightened can rock, shift, or even collapse under your body weight. Whether it’s a bench, squat rack, or cable machine, stability keeps you safe and allows for full focus during your workouts.
2. Poor Setup Causes Wear
Improper assembly can put strain on the joints or frames of your equipment, leading to early wear and tear. This shortens the lifespan of your investment and could void any warranty coverage.
3. Cable and Electrical Safety
Equipment that plugs in should be connected securely and kept clear of foot traffic. Tripping over power cords or tangling them during workouts is a serious hazard. A professional home gym installation service will ensure everything is routed safely and neatly.
4. Anchor Heavy Machines
Some machines, such as squat racks or wall-mounted systems, need to be anchored to a wall or floor for stability. Incorrect installation can result in tipping or collapse. Properly securing your setup not only protects you but also the structure of your home.
5. Protect Children and Pets
If you share your home with curious kids or pets, setup becomes even more important. Unsecured weights or machinery can be dangerous. Professionals understand how to place equipment in a way that minimizes risk to others in your household.
In-home gym safety isn’t just about how you use the equipment—it starts with how well it’s set up
Final Thoughts
Setting up your home gym doesn’t have to be stressful. With a little planning, patience, and the right approach, you can go from box to workout in no time. Take it slow, follow the manual, and double-check everything before you power up. And if you’d rather save yourself the hassle, calling a Fitness Equipment Assembly Service can make the whole process effortless.
Once everything’s ready, you’ll have your own personal workout zone waiting for you: no gym membership, no crowds, and no excuses. So unbox those weights, plug in the treadmill, and get ready to enjoy your new setup.