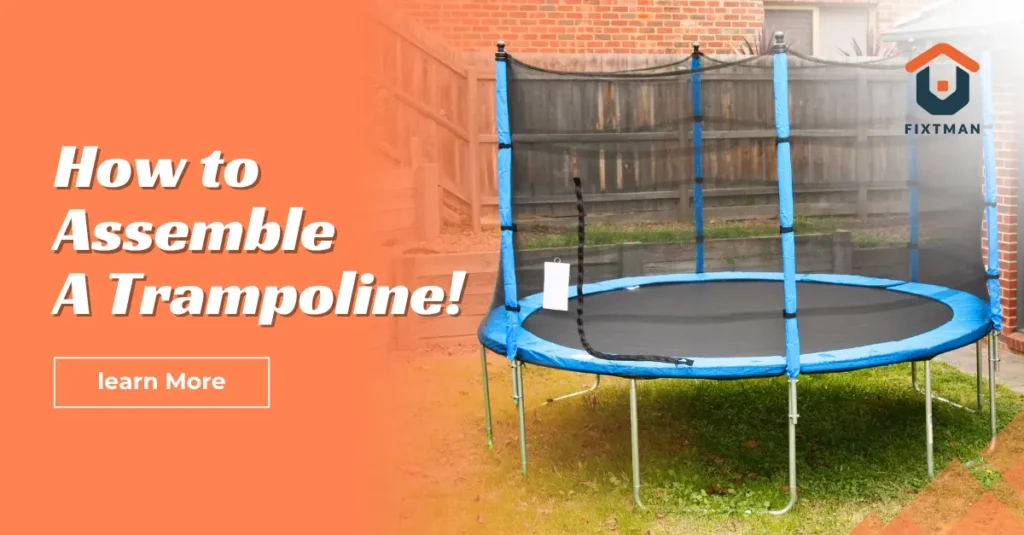

For some people, the thought of assembling a trampoline can be daunting, but with the right guide and proper steps, you can understand how to assemble a trampoline easily and safely. The process involves laying out the parts, connecting the frame, stretching the mat with springs, attaching the safety pad, and setting up the enclosure net. This guide will show the step-by-step process of a seamless, flawless and long-lasting trampoline assembly.
Pre-Assembly and Tools
Review the material and packages
You will need to review the instructions and account for the materials carefully. Take some time to make sure you have all of the tools necessary to set up the trampoline properly. All of the materials for a trampoline will usually come in two or three packages. Empty each package and make sure you have everything listed in the instructions.
Ensure gathering the tools
You do not require too many tools for assembling a trampoline, but it is very important to have them readily available. You will need
- Safety Gloves
- Power Drill
- Rubber Mallet
- Spring Puller
- Screw Driver
Organize the parts
Make sure to organize and arrange each part that comes in the package. The setup process can be confusing if all of the parts are in one pile. Take some time to spread out the pieces and put them in groups according to what they are being used for.
Setting Up the Trampoline
After organizing each part, it’s time to assemble the trampoline.
Step 1: Assembling the ring of the frame
Starting with the frame assembly. Lay out the pieces that make up the circular frame to get an idea of how big the trampoline will be. Then, begin attaching by snapping the parts together until you have a ring shape. Once assembled, the ring should lay flat on the ground for now
Step 2: Assembling the legs of the trampoline
Once the ring is fixed, attach the legs to the ring. There should be spots on the ring for the legs. The legs should fit in the spots easily, but if not, you can use a hammer to fit them but use a cloth as a barrier and hammer it lightly.
Step 3: Fixing all the Screws and Bolts
Now that the frame is put together, you can fix the nuts and bolts into their proper places. Make sure that all of the parts are secure and in the correct positions first, though. After you’re finished securing the screws and bolts, look over them to make sure that they are secure.
Step 4: Installing the Mate
After fixing the screws, flip over your frame and install the springs of the mate into the designated hooks. Then attach hooks to the ring of the frame. You will need the spring pulling device to stretch and attach the springs to the hooks, and a rubber mallet to pound the springs into place once attached to the metal ring.
Step 5: Setting Up the Protective Pad
After installing the mate, add the protective pad around the mate, covering the springs and hooks, which helps to cushion a fall of the spring. There will be holes in the pad that align with the legs of the frame. These pads usually have hooks, fasteners, or ropes to attach it with the trampoline.
Step 6: Installing Enclosure Net
Some of the trampolines may come with the enclosure nets. Assemble the safety poles that come with the net, attaching the top of the net to the poles, and weaving the bottom edge flush against the jumping mat loops. Always position the net’s doorway where you want it before securing any fasteners
Step 7: Test your Finished Trampoline
Check everything over once more to make sure the trampoline is secure. Then, get on the trampoline and bounce a few times to make sure it is stable. If it is, your trampoline is finished and ready for activity.
READ ALSO: Trampoline Installation Cost 2026
Mistakes to Avoid during Trampoline Assembly
Frame assembly
Always start assembling the trampoline frame upside down. Most trampolines are designed so that you connect the top rail and T-joints upside down (with the spring holes facing the ground) first. Building it right-side up makes it incredibly difficult to attach the legs.
Reversing Frame Poles:
A common mistake is putting frame sections or leg sockets in upside down or backward, which causes holes and button clips to misalign. Always verify that drainage holes (if present) are facing the ground
Spring Placement
The installation, to be exact, has specific spring placement patterns, and it’s crucial to follow the manual. If not, the springs will be unevenly stretched, and the jump mat won’t be centered. Always take the time to ensure that each v-ring and frame hole line up. If your spring is one v-ring or frame hole off, then your springs will end up slanted.
Incorrect Spring Orientation:
The smaller hook of the spring should always be attached to the jumping mat’s V-rings, while the larger hook connects to the frame.
Factors that Affect Trampoline Assembly
Design and Shape
Standard spring trampoline takes 2-4 hours to assemble, but models with innovative and non-traditional designs require more effort and time due to their unique tensioning designs. Round trampolines are most straightforward, but rectangular and square shapes are more tedious to align and require more time.
Site and Ground Condition
You must select an even surface. The area should have at least 24 feet of overhead clearance (clear of trees and power lines) and 6 to 8 feet of side clearance from hard surfaces like fences or walls.
Tools and Hardware
Having a standard kit, including a rubber mallet, adjustable wrench, work gloves, and the manufacturer-provided spring puller tool, is essential.
Proper Sequencing
Straying from the manufacturer’s directions is a major reason of assembly issues. Following the manual is necessary to avoid long-term issues.
READ ALSO: How Long Does It Take to Put a Trampoline Together?
Maintenance Tips for Trampoline Assembly
Tighten Bolts
Outdoor weather and rigorous jumping can cause hardware to loosen,Inspect and re-tighten all screws, bolts, and nuts at least once a month, especially after the first hour of initial use.
Check for rust
Inspect the steel frame and welds for signs of oxidation or rust. Treat any early signs of surface rust with rust remover or sand it down before applying a protective metal paint.
Lubricate springs
To prevent squeaking and keep the springs moving smoothly, periodically apply a silicone-based lubricant.
Enforce weight and item limits
Strictly adhere to the manufacturer’s weight limit. Always ensure jumpers remove their shoes, jewelry, and sharp objects to avoid tearing the jump bed.
Proper storage
If you live in an area with harsh winters or extreme weather, it is highly recommended to disassemble the mat, net, and safety pads. Clean these parts thoroughly and store them in a cool, dry indoor space
Professional Trampoline Assembly
If you want a seamless and professional trampoline assembly service, Fixtman is the best choice. They offer professional setup while ensuring continued commitment to safety. They provide expert services for a safe and worry-free backyard. Our pros handle everything from frame setup to net installation. Get your expert assembly services now with Fixtman.
Commonly Asked Questions
How long does it take to assemble a trampoline?
Depending on the trampoline size, expect to spend 1.5 to 3 hours for an 8 ft trampoline and 2.5 to 4 hours for a 12 ft or larger model
Where should I place the trampoline?
Always install your trampoline on a flat, level surface at least 6 to 8 feet away from obstacles such as fences, trees, power lines, or patio structures.
Can I DIY trampoline assembly?
Yes, you can DIY the assembly. You will need a partner to ensure stability and avoid mistakes.
What is the best way to attach Springs?
Never attach them sequentially all in one direction. Attach the first four springs at the 12, 3, 6, and 9 o’clock positions. Afterward, fill in the spaces by attaching new springs halfway between the ones already installed to maintain even tension