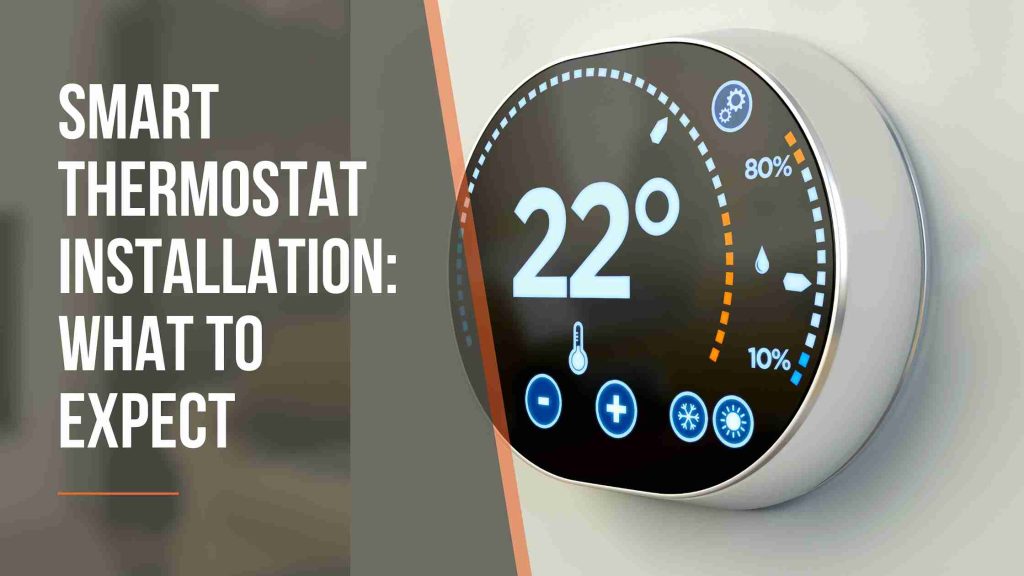
Smart thermostats have revolutionized the way we manage indoor comfort and energy usage. Brands like Nest and Ecobee offer not only convenience but real data-backed improvements in how homes consume energy. But how do you actually install one? Is it a simple DIY project, or should you bring in a pro? This guide walks you through what to expect from the installation process, what benefits you’ll enjoy, and how to get the most efficiency out of your new device.
Benefits of Smart Thermostats
Before diving into the installation process, it’s important to understand why smart thermostats are quickly becoming a standard feature in modern homes.
Increased Comfort and Control
Smart thermostats allow you to control your home’s temperature remotely using your phone or voice assistant. Whether you’re at work, on vacation, or just on the couch, you can adjust the settings without touching the wall unit.
Many models even learn your preferences and routines, adjusting temperatures automatically to match your daily habits. This results in a more personalized and comfortable living environment.
Real-Time Monitoring
Advanced models provide detailed insights into your energy usage, showing you how and when you use heating and cooling. You’ll see spikes in usage, trends over time, and helpful suggestions for improving efficiency.
This information empowers homeowners to make better decisions that lead to significant home energy savings over time.
Lower Utility Bills
Perhaps the most attractive benefit is cost savings. According to various energy studies, smart thermostats can reduce annual heating and cooling costs by 10–15% or more. That means the device often pays for itself within the first year.
By using a smart thermostat to automate schedules and reduce energy waste, homeowners can see significant reductions in their utility bills each season.
Installation Step-by-Step
You can choose to install a smart thermostat yourself or hire a professional. Many people search for a smart thermostat installer near me to ensure it’s done quickly and correctly, especially if they’re unfamiliar with wiring.
Here’s a general overview of what the installation process looks like.
Step 1: Turn Off the Power
Before doing anything, turn off the power to your HVAC system at the breaker. This prevents the risk of electrical shock and protects the unit during installation.
Step 2: Remove the Old Thermostat
Take off the cover of your current thermostat and gently unscrew it from the wall. Be careful not to disconnect any wires just yet.
Use your phone to take a picture of the existing wire setup for reference—this will be helpful when reconnecting wires to the new device.
Step 3: Label the Wires
Most thermostats have wires labeled by letter (R, W, Y, G, etc.). Use the provided stickers in your new thermostat kit to label each wire before detaching them. This makes installation far easier and helps avoid errors.
Step 4: Install the New Base Plate
Attach the new base plate from your smart thermostat to the wall, using a level to make sure it’s straight. Run the wires through the center and connect them to the corresponding terminals.
Nest and Ecobee models often include helpful diagrams or even built-in wire detection systems to guide you through this.
If you’re unsure about compatibility or wiring, consider reaching out to a smart thermostat installer near me to avoid missteps.
Step 5: Attach the Thermostat and Power On
Once the wires are connected, snap the thermostat display onto the base and turn the power back on at the breaker. The unit should power up and walk you through the setup process on-screen.
Step 6: Connect to Wi-Fi and Configure
The final step is connecting your device to your home Wi-Fi and syncing it with your smartphone or smart speaker. You’ll then input your preferences, schedule, and climate settings.
Your Nest and Ecobee setup will typically include software updates, auto-scheduling features, and compatibility checks with Google Home, Alexa, or Apple HomeKit.
Tips for Maximizing Efficiency
Installing a smart thermostat is only half the equation. To fully enjoy home energy savings, you need to optimize how the device works in your home.
Set a Realistic Schedule
Take time to customize the schedule settings based on when you’re actually home or away. Avoid programming large temperature swings—it’s more efficient to maintain a stable temperature than to constantly reheat or cool your space.
Smart thermostats learn from your patterns, but giving them a solid starting point helps reduce unnecessary cycling early on.
Enable Geofencing
Many models have geofencing capabilities, which detect when you’ve left the house and automatically switch to energy-saving mode. This feature alone can significantly lower your energy usage during the day.
Use Room Sensors
If your home has hot or cold spots, consider adding room sensors. Ecobee in particular offers remote sensors that help the thermostat average temperatures across different rooms, ensuring comfort where you need it most.
Update Firmware Regularly
Check for updates through the thermostat’s app. Updates often fix bugs, improve energy reporting, and enhance features that contribute to greater savings.
Don’t Override Settings Too Often
Constantly changing settings manually can interfere with the learning algorithms. If your smart thermostat is constantly “guessing” at your preferences, it can’t create a stable and efficient routine.
Stick with it for a few weeks to let the thermostat learn and adapt.
Final Thoughts
Smart thermostats are more than just techy gadgets—they’re practical tools that provide comfort, data, and energy efficiency. Whether you’re handling the Nest and Ecobee setup yourself or working with a smart thermostat installer near me, knowing what to expect can make the process smooth and hassle-free.With careful installation and smart usage habits, your new thermostat will do more than just keep your home comfortable. It will deliver real home energy savings and bring you one step closer to a fully automated, eco-friendly lifestyle.


