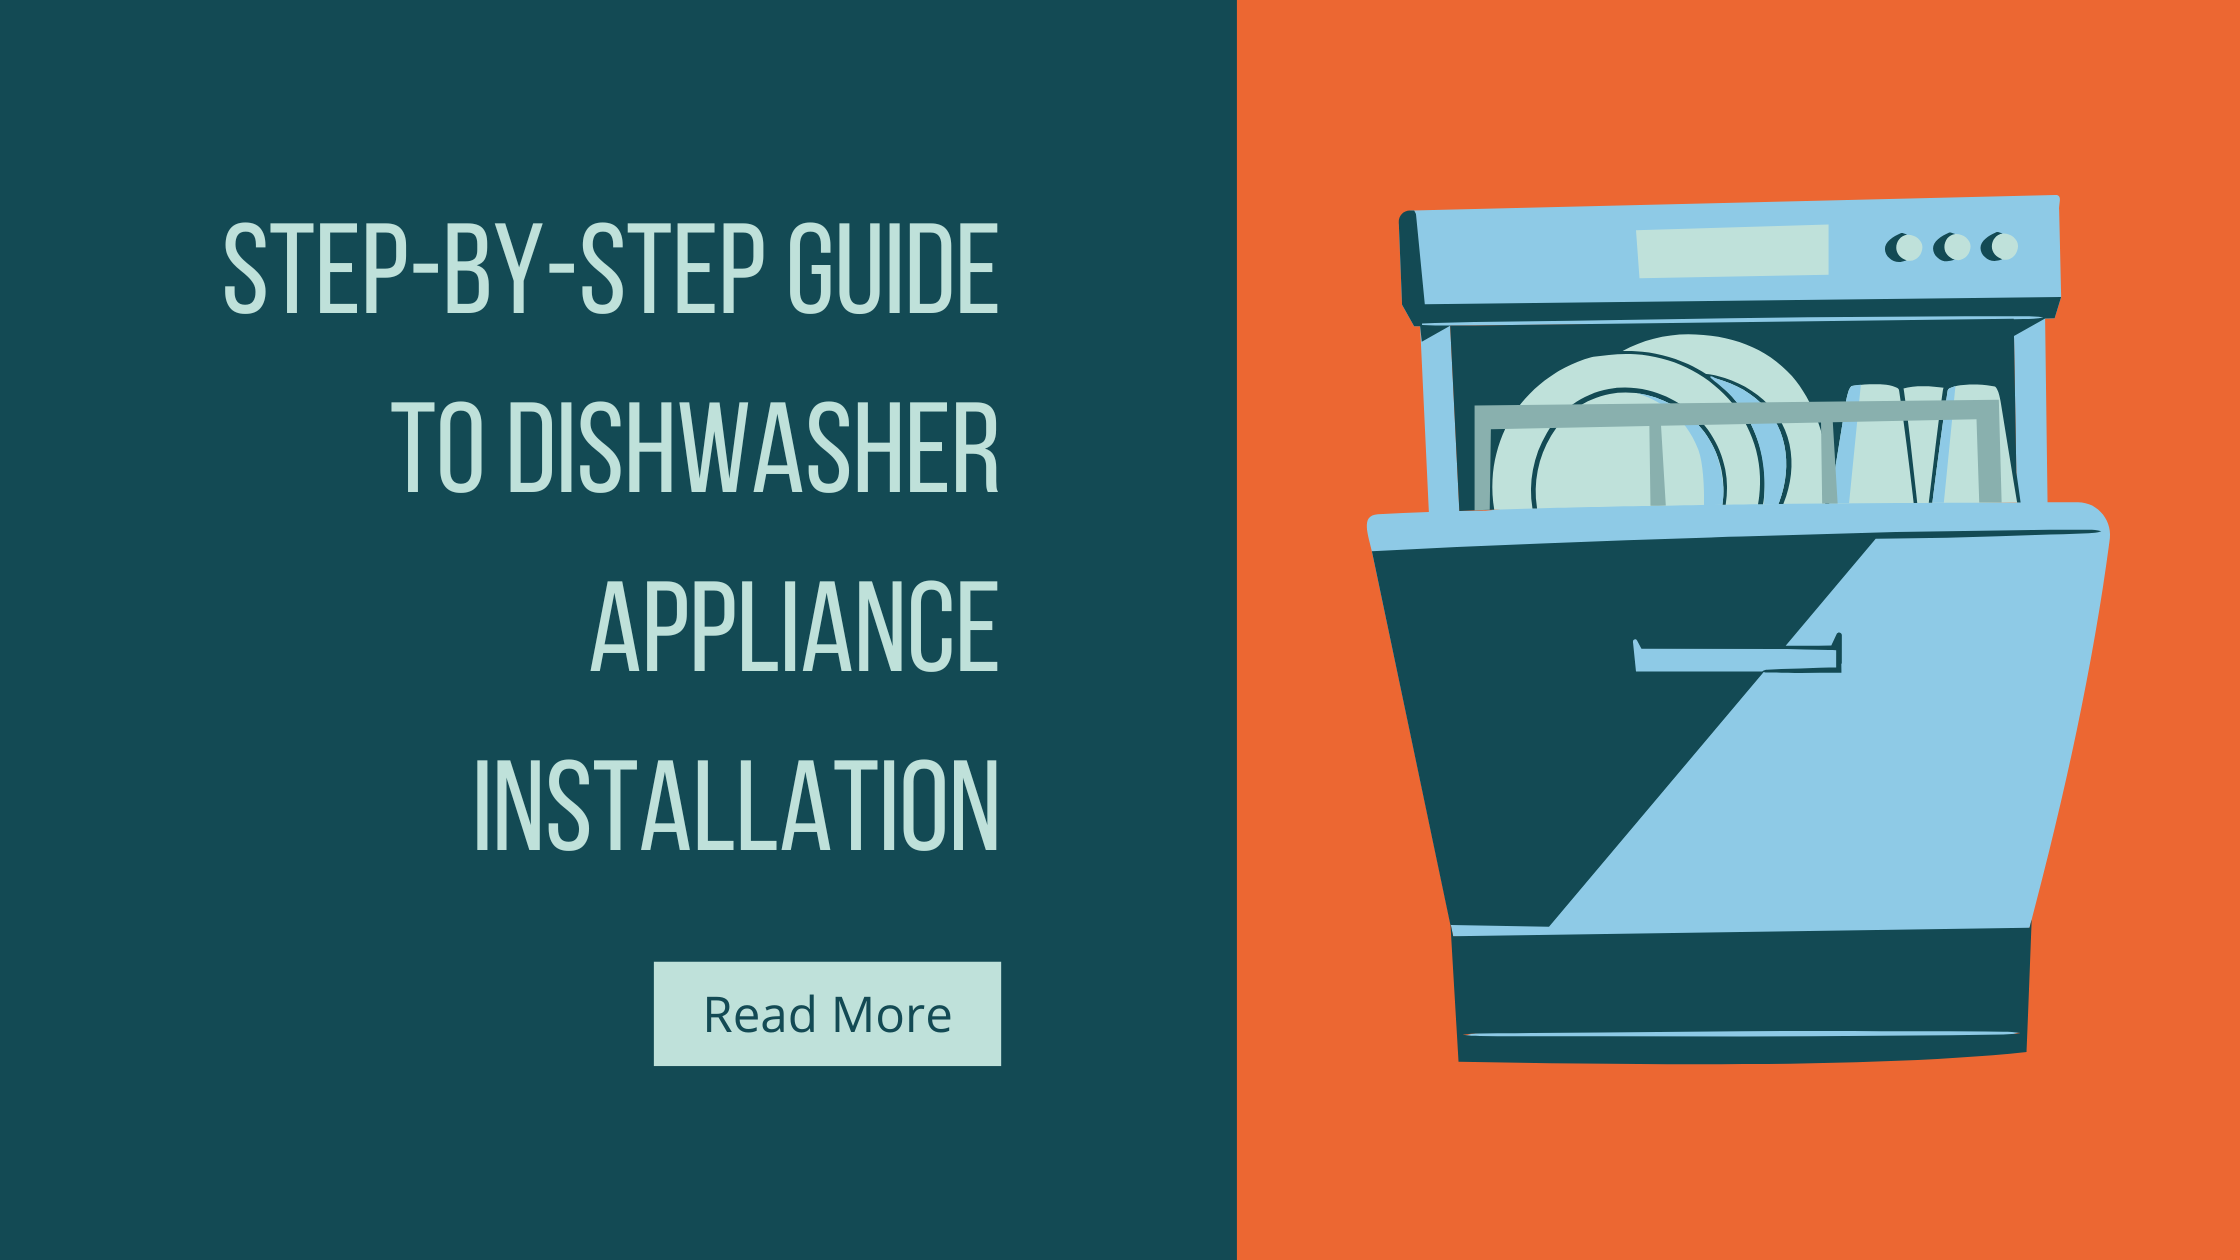
Installing a dishwasher might appear to be a complicated task, but breaking it down into manageable steps can make the process much simpler. Whether you’re installing a new dishwasher or swapping out an older model, understanding the right procedures is key. This guide will help you through every stage from the dishwasher hookup to ensuring peak performance of your appliance.
Preparing for Dishwasher Hookup: What You Need to Know
Before starting, it’s essential to prepare your kitchen space for a smooth dishwasher hookup. Below, we cover all the basics, including the necessary tools, materials, and checks to ensure you’re ready to proceed.
Tools and Materials Required for a Successful Dishwasher Hookup
For a successful dishwasher hookup, you’ll need to gather the right tools and materials. The following items are crucial for the job:
- Adjustable wrench
- Pipe fittings and connectors
- Dishwasher water supply hose
- Drainage hose
- Electrical tape or wire nuts (for hardwiring)
- Teflon tape (for securing water connections)
- Screwdriver
- Level (to ensure proper alignment)
Having all these tools and materials on hand before you begin will save time and prevent delays.
Checking Water and Electrical Connections Before Installation
It’s crucial to double-check both the water and electrical connections before diving into the installation process.
- Water Supply: Ensure there’s a hot water supply line within easy reach of your dishwasher’s inlet valve.
- Drainage Connection: The dishwasher needs a drainage path, either to a garbage disposal or directly into a drainpipe.
- Electrical Connection: Make sure there’s a suitable electrical outlet within reach, or prepare for hardwiring if necessary. Be sure to turn off the power before handling any electrical work.
By checking these connections, you can avoid unnecessary hiccups during the installation process.
How to Connect a Dishwasher Safely and Efficiently
Next, we’ll cover how to properly connect a dishwasher to both the plumbing and electrical systems, ensuring a safe and effective installation.
A Detailed Guide to Connecting Water Lines, Power Supply, and Drainage
- Water Supply Connection:
Use an adjustable wrench to connect the water supply hose to the inlet valve of the dishwasher. Tighten the connection securely and use Teflon tape around the threads to prevent leaks. - Drainage Connection:
Attach the drainage hose to the drainpipe or garbage disposal. Make sure the hose isn’t kinked, as this can impede drainage, and secure it tightly with a hose clamp. - Power Supply Connection:
If your dishwasher plugs into an electrical outlet, simply plug it in. For hardwiring, carefully follow the manufacturer’s instructions and ensure that all electrical connections are properly made. Always turn off the power before starting any electrical work.
Troubleshooting Common Issues During Connection
If issues arise during the connection process, here are some troubleshooting tips:
- Leaks: If there’s a water leak, tighten the water supply and drainage connections. Make sure everything is properly sealed.
- Electrical Problems: If the dishwasher doesn’t power up, check the power supply and the circuit breakers. Verify all connections are intact and secure.
- Drainage Issues: If water isn’t draining properly, inspect the drainage hose for blockages or kinks.
These simple checks will help you resolve any common installation problems.
Installing a New Dishwasher in Your Kitchen
Once the dishwasher hookup is complete, it’s time to install the new dishwasher in your kitchen. This section explains how to remove the old unit and properly position the new one.
How to Remove the Old Unit and Prepare the Space for a New Dishwasher
- Turn off the water and electrical supply to the old dishwasher.
- Disconnect the water and drainage hoses, as well as the power supply.
- Carefully remove the old unit, ensuring that you don’t damage the cabinetry or plumbing in the process.
- Clean the area where the new dishwasher will go, removing any debris or water residue.
Once the old dishwasher is out and the area is prepped, you’re ready for the next step.
Proper Placement and Alignment for Optimal Performance
When positioning your new dishwasher, make sure it’s aligned correctly with the countertop and cabinetry. Use a level to confirm that the unit is perfectly straight. A properly aligned dishwasher will perform better, with reduced noise and fewer operational issues.
Tips on How to Fit a Dishwasher into Any Space
In some kitchens, space may be limited. However, there are ways to make it work when fitting dishwashers into smaller or non-traditional spaces.
Solutions for Fitting Dishwashers into Small or Unconventional Spaces
If you have a compact kitchen, consider getting a portable or compact dishwasher. These models are ideal for small spaces and can be moved when not in use. If you have an unusual layout, measure the available space carefully to ensure that the new dishwasher will fit.
Choosing the Right Size and Type for Your Kitchen Layout
When selecting a dishwasher, make sure to choose a model that fits well within your kitchen’s space. Standard built-in dishwashers are typically 24 inches wide, but smaller or customized models may be better suited for tighter spaces. If your kitchen features custom cabinetry, you might want to opt for an integrated model that blends seamlessly with your surroundings.
How to Install a Dishwasher Like a Pro
Finally, we’ll guide you through the step-by-step process of installing a dishwasher to ensure a professional-grade installation.
Step-by-Step Installation Process Explained
- Position the Dishwasher: Slide the dishwasher into its space under the counter. Ensure that the water supply, drainage hose, and power cord are not pinched.
- Attach the Water Line and Drainage Hose: Securely fasten the water line and drainage hose to their appropriate connections.
- Level the Dishwasher: Use a level to ensure that the dishwasher is perfectly aligned with the countertop. A properly leveled unit will operate smoothly.
- Connect the Power Supply: Plug in the dishwasher if it has a power cord. If hardwiring, ensure the connections are correct and safe.
- Test the Installation: Turn on the water and power supply, and test the dishwasher to check for leaks and proper operation.
When to Seek Professional Help for Complex Setups
While many people can handle the installation on their own, some situations might require the expertise of a professional. If you encounter difficult electrical wiring, plumbing complications, or trouble fitting the dishwasher into the space, it’s wise to consult with a licensed plumber or electrician to ensure a safe and proper installation.
Conclusion
By following this comprehensive step-by-step guide to dishwasher appliance installation, you can confidently install a dishwasher in your kitchen without the need for professional help. With proper preparation, accurate connections, and careful fitting, you’ll have your new dishwasher running smoothly in no time.