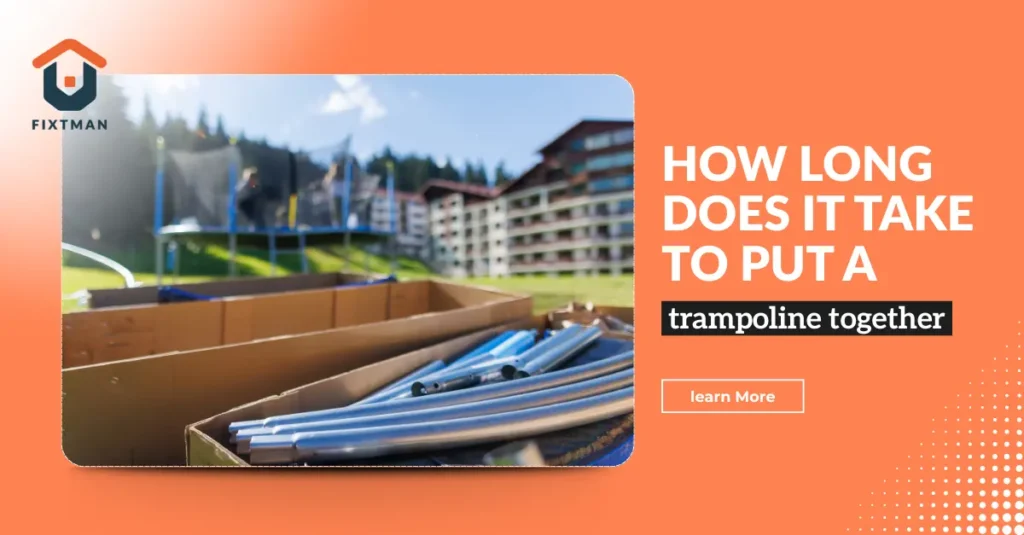

Buying a trampoline is exciting, but assembly can take longer than homeowners expect. Assembly time depends on various factors: trampoline design, size, experience level, and number of people helping. While smaller trampolines may take a couple of hours, larger models may take most of the day. In this guide, you will learn the average assembly time, the factors that affect installation, and tips to make the assembly process faster and easier.
READ ALSO: Tools for Trampoline Assembly: What You Actually Need
Average Time to Assemble a Trampoline Based on Size
| Trampoline Size | Estimated Setup Time |
| 8–10 ft | 2–4 hours |
| 12–14 ft | 4–6 hours |
| 15–16 ft | 6–8 hours |
| Large Professional Models | 8–10+ hours |
Average Time to Assemble a Trampoline Based on Type
| Type of Trampoline | Average Assembly Time | Why It Takes This Long |
| Mini Fitness Trampoline | 1-2 hours | It has a compacr design with fewer components |
| Spring Trampoline | 4–8 hours | Springs require careful attachment and alignment |
| Springless Trampoline | 3–6 hours | Simpler design with fewer installation steps |
| In-Ground Trampoline | 8–12+ hours | Requires digging, leveling, and ground preparation |
| Large Outdoor Recreational Trampoline | 6–10 hours | Larger frame, safety net, and multiple parts |
Factors that Affect Assembly Time
Trampoline Size
Small backyard trampolines are quicker to assemble while large recreational models require more time and effort. Fitness trampolines are usually the fastest because of their compact design. The size of the trampoline plays a major role in setup time.
Number of People Helping
Assembling a trampoline alone can be really hard and challenging. It will require a lot of time. Having 2-3 helping hands can speed up the installation process and make handling parts easier.
Experience Level
First-time installers often need extra time to understand instructions to organize parts. Experienced and professional individuals usually can install a trampoline more swiftly and effectively.
Type of Trampoline
Different designs of trampolines require different amounts of time to be installed. Spring trampolines typically take much longer because springs must be attached carefully. Springless models may have an easier installation process.
Weather and Surface Conditions
A flat and stable surface makes assembly safer and easier. Windy or rainy weather can slow down the installation process. It also makes it difficult to handle parts of the trampoline, which can affect the efficient installation.
READ ALSO: Trampoline Installation Cost 2026
How to Prepare Before Trampoline Installation
Choose the right location
Select a flat open area for trampoline installation so that it will be easy to work. Congested space will make it difficult to install and consume much more time.
Measure backyard space
Before assembly, measure your backyard carefully to ensure enough clearance around the trampoline. A proper safety zone helps prevent accidents and allows easier movement during installation.
Check weather forecast
Dry and calm weather makes installation faster and safer. Rain, strong winds, or wet ground can delay installation and make handling parts more difficult. To avoid any delay, it is better to check the weather forecast first.
Organize all parts before assembly
Arrange all trampoline parts, hardware, and instructions before beginning assembly. Staying organized helps prevent delays and makes the setup process smoother.
READ ALSO: How to Choose the Strongest Wooden Playset Construction Materials
Common Challenges During Assembly that Slow Down the Process
Misaligned Frame Parts
If parts of the frame are misaligned, frame sections may not fit properly. If they are connected in the wrong order, it can slow down the assembly process.
Tight Spring Installation
Installing trampoline springs can take extra time because the springs must be stretched and attached carefully around the frame. Using the proper tools and attaching springs evenly on all sides can make the process easier and safer.
Missing Hardware Pieces
Missing bolts, screws, or brackets can slow down trampoline assembly and prevent the structure from being installed safely If any pieces are missing, you may need to contact the manufacturer or buy replacements before continuing the installation
Incorrect Safety Net Installation
Improperly installed safety nets can create safety risks and often require extra time to reposition correctly. Carefully following the instructions and checking all attachments can help ensure the safety net is secure and saves a lot of time.
Tips to Reduce Trampoline Installation Time
Read Instructions Before Starting
Reviewing the manual before assembly helps avoid mistakes and confusion during installation. It also helps you understand the order of assembly steps in advance.
Use a Large Open Workspace
A spacious and clear area makes it easier to organize parts and move around safely. This also reduces the risk of losing small hardware pieces during setup.
Assemble With Extra Help
Having one or two extra people can speed up the setup process and make handling heavy parts easier. Teamwork also helps improve safety during installation.
Separate Parts by Category
Organizing springs, bolts, poles, and frame sections beforehand helps prevent delays during assembly. It makes finding the correct parts much faster while working.
Avoid Windy or Rainy Conditions
Dry and calm weather makes trampoline installation safer, faster, and more comfortable. Bad weather can slow down assembly and create safety risks.
DIY Assembly Vs Professional Assembly
DIY Trampoline Installation
DIY trampoline installation is a good option for homeowners who want to save money and are comfortable with assembly projects.
Benefits of DIY Installation
- Lower upfront cost
- No professional labor fees
- Flexible installation schedule
- Good for experienced DIY users
Challenges of DIY Installation
- Requires more time and effort
- Can be difficult for beginners
- Higher chance of assembly mistakes
- Large trampolines may need extra help
Professional assembly
Professional trampoline installation is faster and more convenient because experienced installers handle the entire setup process.
Benefits of Professional Installation
- Faster assembly process
- Expert and accurate installation
- Reduced risk of setup errors
- Ideal for large or complex trampolines
Drawbacks of Professional Installation
- Higher installation cost
- Scheduling may be required
- Less flexibility compared to DIY setup
Which Option Is Better?
For most homeowners, professional trampoline installation is the better option because it saves time, reduces stress, and ensures the trampoline is assembled correctly and safely. Experienced installers can complete the setup much faster and are less likely to make mistakes with springs, frames, or safety nets.
Professional installation is especially recommended for:
- Large outdoor trampolines
- In-ground trampolines
- First-time trampoline owners
- Families focused on maximum safety
Let Fixtman Handle the Installation
Skip the hassle of trampoline assembly and let Fixtman professionals handle the setup safely and efficiently. Professional trampoline installation saves you time, reduces assembly stress, and ensures your trampoline is set up correctly from the start. Fixtman provides fast and reliable trampoline installation with experienced professionals who handle trampolines of all sizes for a quick and stress-free experience.
Frequently Asked Questions
Can you assemble a trampoline in one day?
Yes, most trampolines can be assembled within a single day, depending on the size and complexity of the model.
Does trampoline size affect setup time?
Yes, larger trampolines usually require more assembly time because they have more parts and larger frames.
Is it difficult to install a trampoline alone?
Installing a trampoline alone can be challenging, especially for large outdoor models that require lifting and spring installation.
Are springless trampolines easier to assemble?
In many cases, springless trampolines are easier and faster to assemble because they use fewer traditional spring components.