
Installing wall decor is one of the simplest ways to refresh a space, but curtain rods can quickly become frustrating without the right approach. Many homeowners struggle with uneven alignment, choosing the right hardware, or making sure everything is securely mounted.
Learning how to install a curtain rod properly can instantly make your living room, bedroom, or office look more polished and put together. And for larger windows or more complex setups, a professional installation of a curtain rod can save a lot of your time and avoid costly mistakes.
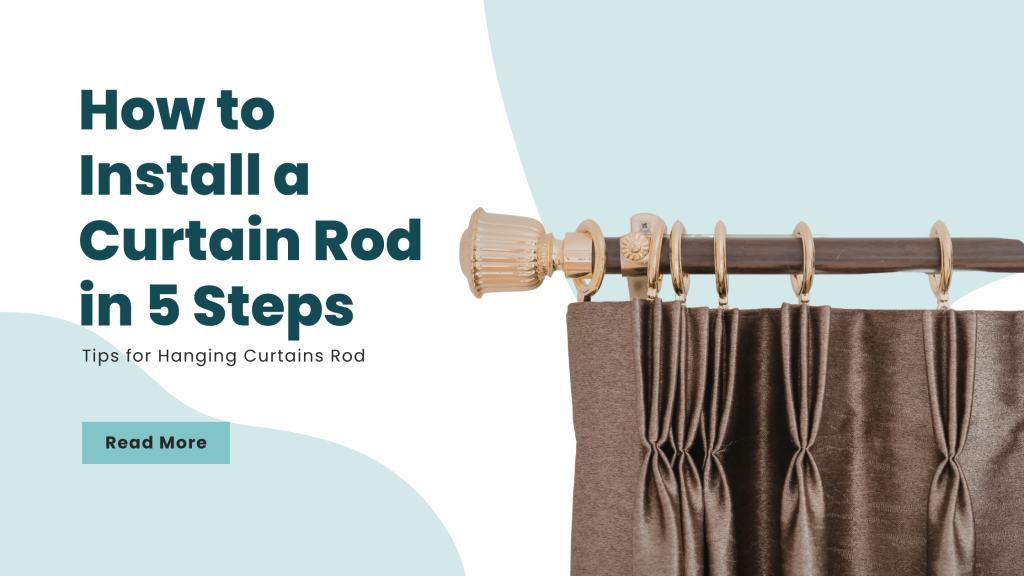
Let’s break down how to install a curtain rod the right way
Why Installing Curtain Rods the Right Way Matters
Enhances Overall Room Appearance
Curtain rods are not just functional they play a key role in how polished a room looks. Proper installation ensures your curtains hang evenly and align perfectly with your window, creating a clean and balanced finish.
Prevents Damage to Walls and Fixtures
A poorly installed curtain rod can loosen over time, leading to wall damage or even falling hardware. Securing the rod correctly helps maintain durability and prevents unnecessary repairs in the future.
Improves Curtain Functionality
When installed properly, curtains open and close smoothly without resistance. This makes daily use more convenient while also preserving the quality of both the fabric and the hardware.
Creates a More Spacious Visual Effect
Strategic placement of curtain rods can make a room feel larger and more open. Hanging rods slightly higher and wider than the window frame helps create the illusion of taller ceilings and allows more natural light to enter.
Reduces Installation Errors with Professional Help
Working with the best curtain rod installation service near me helps eliminate common mistakes like uneven alignment or incorrect measurements. This ensures a precise result that enhances both function and design.
How to Select the Correct Curtain Rod for Window
Choosing the right curtain rod depends on the size and style of your window, the type of curtains, and the overall room décor.
Correct Measurements
Measure the width of your window carefully. Generally, your rod should extend at least four to six inches beyond the window frame on each side to allow curtains to fully clear the window when opened.
Diameter of Rod
Consider the rod diameter as well. Heavier fabrics require thicker, more durable rods, while lightweight curtains can be supported by slimmer rods.
Decorative finials
Decorative finials, or end caps, add style and can be selected to match your room’s design theme. By selecting the correct rod before installation, you avoid uneven hangs, sagging, or the need for adjustments later. This upfront planning is key to a polished and professional-looking wall hanging installation
Step by Step Guide to Installing Curtain Rods Properly
Step 1: Measure Before You Drill
Accurate measurements are the foundation of a clean installation. Measure both the width and height of your window, and plan to mount the rod about four to six inches above the frame to create a more elevated look. Extending the rod beyond each side also allows curtains to open fully and improves natural light flow.
Step 2: Choose the Right Curtain Rod
The right rod depends on the weight and style of your curtains. Lightweight fabrics work well with slimmer rods, while heavier materials require thicker, more durable options to prevent sagging. Choosing the correct type ensures both functionality and long-term stability.
Step 3: Choose the Right Hardware
Your wall type determines the hardware you need for a secure installation. Drywall requires anchors to hold screws firmly, while concrete or brick needs specialized tools and drill bits. Using the correct hardware prevents the rod from loosening or damaging your wall over time.
Step 4: Mark Bracket Positions Accurately
Mark your bracket positions carefully before drilling to ensure proper alignment. Brackets should typically sit four to six inches above the window frame and extend wider than the frame on both sides for a balanced look. If possible, secure at least one bracket into a wall stud for added strength.
Step 5: Level and Secure the Brackets
Use a level tool to make sure both brackets are aligned evenly before drilling pilot holes. For drywall surfaces, install anchors before securing the screws to keep everything firmly in place. Taking time on this step helps avoid uneven curtains and ensures long-term durability.
Step 6: Install the Rod and Curtain Hardware
Once the brackets are secure, slide the curtain rod into position. If you are using rings or clip systems, attach the curtains beforehand to avoid unnecessary strain on the fabric. Tighten any screws or end caps to lock the setup securely.
Step 7: Hang and Adjust Your Curtains
Spread the curtains evenly and adjust them so they fall naturally and symmetrically. The fabric should lightly touch or hover just above the floor for a clean, finished appearance. Small adjustments at this stage can significantly improve the overall look of your space.
Common Mistakes to Avoid
DIY Installation
Many DIY installations go wrong because homeowners skip measuring or leveling the brackets properly. Even a few degrees of tilt can make curtains hang crookedly.
Ignoring Curtain weight
Another mistake is not considering the curtain weight; using a light rod for heavy drapes often results in sagging.
Not checking Studs or Anchors
Failing to check for studs or using inadequate anchors can also lead to a loose rod or potential wall damage.
Attaching Curtains before Rods
Finally, skipping the step of attaching the curtains before placing the rod can stretch or damage delicate fabrics.
When to Call Professionals
If you have large or unusually shaped windows, heavy drapery, or walls made of brick or plaster, professional installation is highly recommended. Experts who install curtain rod can take precise measurements, mount brackets securely, and ensure your curtains hang beautifully.
They also save time and frustration. What could take hours with trial and error can be completed efficiently, giving you a clean, polished look without stress.
Maintenance Tips to Maintenance Curtains Rod
Once your rod is installed, maintenance is simple but important. Dust the rod and brackets regularly, check screws for looseness periodically, and ensure that the curtain rings or hooks are not damaged. Proper maintenance extends the life of your rod and keeps your drapery looking pristine. It also prevents accidents like a heavy rod falling from the wall.
Installing a curtain rod may seem like a small project, but doing it right ensures your curtains look perfect, function smoothly, and last for years. By following these steps, choosing the right rod, and considering professional help when needed, your windows will become a highlight of your home’s décor.
Conclusion
Installing a curtain rod may seem like a simple task, but the details make all the difference. From precise measurements to choosing the right hardware, each step plays a role in creating a clean, balanced, and long-lasting result.
By following the right process and avoiding common mistakes, you can achieve a professional finish without unnecessary frustration. And for more complex setups or heavier materials, working with an expert can help ensure everything is secure, level, and visually polished.
Frequently Asked Questions
Do curtain rods have to go into studs?
Not always. While securing at least one bracket into a stud is ideal for heavier curtains, drywall anchors can provide enough support for lighter rods. Using the right anchors ensures stability without damaging your walls.
Where to put curtain rod brackets?
Brackets should be installed about 4 to 6 inches above the window frame and extended past the frame by several inches on each side. This placement allows curtains to fully cover the window while creating a balanced look.
How far above the window do you hang a curtain rod?
Most designers recommend 4 to 6 inches above the window frame, but taller ceilings or dramatic window treatments may require a higher placement to create an impression of height and space.