
Highlights:
- Hanger bolts create strong, hidden connections for furniture, woodwork, and DIY projects.
- Wood threads on one end and machine threads on the other make them versatile.
- Always use pilot holes and proper alignment to avoid splitting or misalignment.
- Simple installations can be done without special tools using the two-nuts method.
- Correct installation and removal ensure long-lasting, professional results.
If you’re learning how to install hanger bolts, it’s important to understand both the process and the tools involved. Hanger bolts are unique fasteners with wood threads on one end and machine threads on the other, making them highly versatile. With the right approach, you can achieve a strong and reliable installation for various projects.
READ ALSO: How to Install Hanging Closet Doors the Right Way
What Are Hanger Bolts and When Should You Use Them
Hanger bolts are double-ended fasteners designed for applications where one end needs to be embedded into wood while the other end connects to a nut or threaded component. They are commonly used when a secure, hidden connection is required without visible screw heads.
You should use hanger bolts when assembling furniture, mounting objects, or joining wood to metal components. They are ideal for projects that require strength, stability, and a clean appearance. Their design allows for easy disassembly and reassembly when needed.
Common Applications for Hanger Bolts
Furniture Assembly
Hanger bolts are widely used in furniture assembly to connect legs, frames, and supports. They provide a strong and hidden connection that enhances the overall appearance. This makes them a popular choice for tables, chairs, and cabinets.
Wall Mounting Projects
They are often used for mounting items like shelves or brackets. The threaded end allows secure attachment to hardware components. This ensures stability and long-term durability.
Wood to Metal Connections
Hanger bolts are ideal for joining wood components to metal parts. The dual-thread design makes them versatile for mixed-material projects. This is especially useful in custom builds and repairs.
DIY and Custom Projects
Many DIY enthusiasts use hanger bolts for creative and custom projects. Their flexibility allows for unique designs and secure connections. They are suitable for both small and large-scale applications.
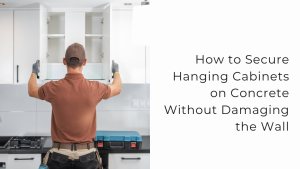
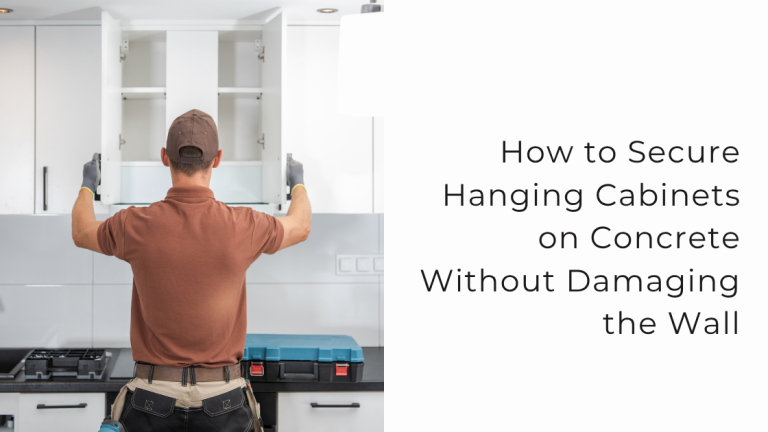
READ ALSO: How to Secure Hanging Cabinets on Concrete Without Damaging the Wall
Types of Hanger Bolts
Standard Hanger Bolts
These are the most common type and feature wood threads on one end and machine threads on the other. They are used for general-purpose applications. Their simple design makes them easy to install and widely available.
Stainless Steel Hanger Bolts
Stainless steel hanger bolts are resistant to corrosion and rust. They are ideal for outdoor or high-moisture environments. Their durability makes them suitable for long-term use.
Heavy Duty Hanger Bolts
Heavy-duty versions are designed for high-load applications. They provide extra strength and stability for demanding projects. These bolts are commonly used in structural or industrial settings.
Step by Step Guide on How to Install Hanger Bolts
Mark the Installation Point
Start by marking the exact location where the hanger bolt will be installed. Accurate marking ensures proper alignment and prevents errors. This step is important for achieving a professional finish.
Drill a Pilot Hole
Use a drill to create a pilot hole in the material. The hole should match the diameter of the wood-threaded end. This makes it easier to insert the bolt and prevents splitting.
Insert the Hanger Bolt
Screw the wood-threaded end into the pilot hole. Use pliers or a wrench to tighten it securely. Make sure the bolt is straight and properly aligned.
Secure the Threaded End
Attach the desired component to the machine-threaded end using a nut or fitting. Tighten it firmly to ensure stability. This completes the installation process.
Check Stability
Once installed, check that the bolt is secure and does not move. Proper stability ensures safety and durability. Make adjustments if necessary.
READ ALSO: How to Install a Curtain Rod on Different Surfaces: Wood, Drywall, and Concrete
How to Install Hanger Bolts Without Special Tools
Use Two Nuts Method
Thread two nuts onto the machine end and tighten them against each other. This creates a grip that allows you to turn the bolt into the material. It is a simple and effective method without specialized tools.
Use Pliers Carefully
Pliers can be used to grip the bolt and rotate it into place. Care must be taken to avoid damaging the threads. This method works best for light-duty applications.
Ensure Proper Alignment
Without special tools, maintaining alignment is crucial. Insert the bolt slowly and check its position frequently. This prevents crooked installation and improves results.
READ ALSO: 7 Steps to Install Curtain Rod Properly
READ ALSO: How to Hang Something on the Wall
Common Mistakes When Installing Hanger Bolts
Skipping the Pilot Hole
Not drilling a pilot hole can cause the material to split. This weakens the connection and may damage the surface. Always prepare the hole before installation.
Using Incorrect Size Bolts
Choosing the wrong size can lead to poor fit and instability. It is important to match the bolt size with the material and application. Proper sizing ensures a secure connection.
Over-Tightening the Bolt
Over-tightening can strip threads or damage the material. This reduces the strength of the connection. Tighten the bolt just enough to secure it firmly.
Misalignment During Installation
Installing the bolt at an angle can weaken the connection. Proper alignment ensures stability and a clean finish. Take your time to position the bolt correctly.
How to Remove or Replace a Hanger Bolt
Use the Double Nut Technique
Thread two nuts onto the bolt and lock them together. This allows you to turn the bolt out of the material. It is one of the most effective removal methods.
Apply Gentle Force
Use a wrench to slowly turn the bolt out. Applying too much force can damage the surrounding material. Patience is key to a clean removal.
Replace with Correct Size
When replacing a hanger bolt, ensure the new one matches the original size. This maintains compatibility and stability. Proper replacement ensures long-term performance.
Conclusion
Learning how to install hanger bolts correctly helps you achieve strong, secure, and professional results. While the process is straightforward, proper tools and techniques are essential for success. If you want precise and hassle-free installation, our professional hanging services can handle the job efficiently and safely.
Frequently Asked Questions About Installing Hanger Bolts
What size pilot hole do I need for a hanger bolt
The pilot hole should match the diameter of the wood-threaded portion to ensure a snug fit.
Can you install hanger bolts into metal
Hanger bolts are primarily designed for wood, but the machine-threaded end can connect to metal components.
Do hanger bolts require anchors
Anchors are not usually needed when installing into wood, but may be required for other materials.
How deep should a hanger bolt be installed
The wood-threaded end should be fully embedded for maximum strength and stability.