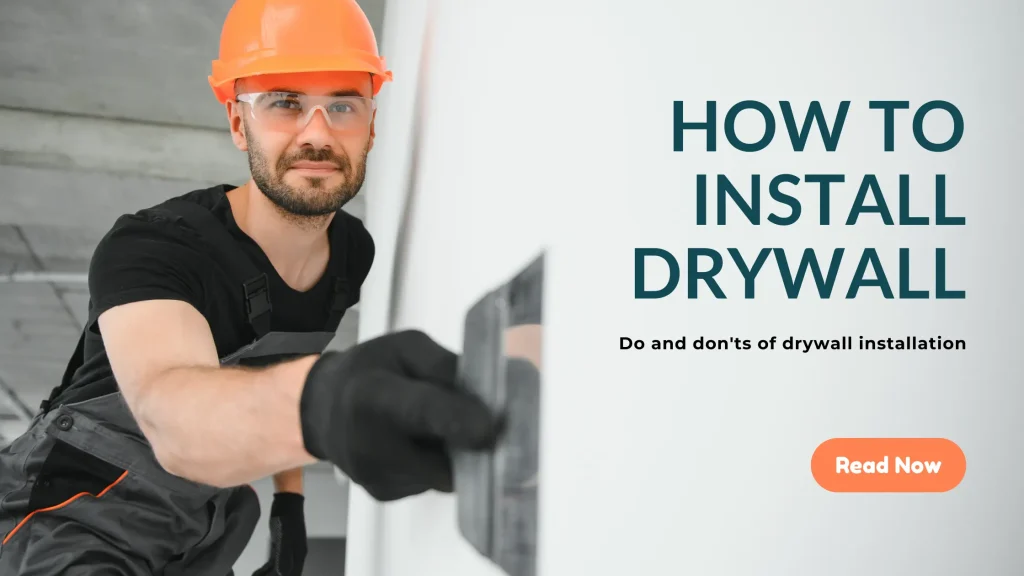

Drywall is one of the most common ways to create smooth, finished walls and ceilings in homes, but getting it installed properly can be tricky. From uneven seams to cracks and gaps, a poor drywall job can quickly ruin the look of a room. That is why so many homeowners search for tips on installing drywall correctly or reach out for professional help to get the job done right the first time. In this content, we will guide you on how to install drywall properly without put any cracks or gaps.
Preparing Your Workspace and Drywall Sheets
Before we jump to the information on how to install drywall, let’s see what preparation you should do:
Clear and Protect the Area
Before starting drywall installation, remove furniture and cover floors to protect them from dust and debris. Drywall sheets are large and difficult to maneuver, so having enough space makes installation easier and safer.
Good preparation also helps reduce accidents and damage during the project. Keeping the workspace clean allows drywall panels to fit properly without unnecessary obstacles.
Measure Walls and Ceilings Carefully
Accurate measurements are essential when learning how to install drywall. Incorrect cuts can create large gaps that require extra joint compound and sanding later.
Use a tape measure to determine the exact wall and ceiling dimensions. Mark all cuts carefully before using a utility knife or drywall saw to trim the panels.
Gather the Right Drywall Tools
Using proper drywall tools helps improve accuracy and efficiency during installation. Professional installers rely on specialized tools to reduce mistakes and create smoother finishes. Common drywall tools include:
- Drywall screw gun.
- Utility knife.
- Drywall T square.
- Tape measure.
- Joint knife.
- Sanding pole.
- Drywall lift.
- Joint compound tools.
A drywall screw gun helps maintain proper screw depth without damaging the drywall paper. A drywall lift is especially useful during ceiling drywall installation because it safely supports heavy panels overhead.
Guide to Hanging Drywall on Walls
Panel Placement and Fastening
Drywall panels can be installed horizontally or vertically depending on your room layout and framing. Align each sheet carefully and fasten it to the wall studs using drywall screws. The screws should be slightly recessed below the surface without tearing the paper, which weakens the panel.
Managing Seams and Gaps
When joining panels, leave a small gap—about a quarter inch—to allow for natural expansion. Apply joint tape over seams and cover with joint compound. Once dry, sand the area smooth and apply additional layers as needed until the surface blends seamlessly.
Corners, Windows, and Doors
Corners and openings require extra attention. Use corner beads to reinforce outside corners and create clean, straight edges. This step is critical for preventing cracks and keeping edges sharp over time.
How to Install Drywall on Ceilings Safely
Ceiling Drywall Installation Challenges
Ceiling drywall installation is more difficult than wall installation because drywall sheets must be lifted overhead. The added weight makes positioning and fastening more physically demanding.
Using a drywall lift or working with a helper makes the process safer and easier. This equipment helps keep panels stable while securing them to the ceiling joists.
Proper Screw Spacing for Ceilings
Correct screw spacing prevents sagging and loose drywall over time. Place screws approximately every 12 inches along the framing for secure support.
Stagger drywall seams whenever possible to improve structural strength. Proper alignment also reduces the visibility of joints after finishing.
Safety Tips During Installation
Drywall sanding creates large amounts of dust that can irritate the eyes and lungs. Always wear safety goggles and a dust mask during installation and finishing.
Take regular breaks when working overhead to reduce strain and fatigue. Proper ladder positioning also helps prevent accidents during ceiling installation.
Drywall Finish Levels Explained
Level 0 Finish
Level 0 drywall finish means the drywall is simply attached to the framing with no finishing work completed. Tape and joint compound are not applied at this stage.
This level is typically used in temporary spaces or unfinished construction areas.
Level 1 Finish
A Level 1 finish includes drywall tape embedded into joint compound along the seams. Tool marks and rough surfaces are still acceptable at this level. This finish is often used in utility rooms or areas hidden from public view.
Level 2 Finish
Level 2 finish adds a thin coat of compound over seams and screw heads. It provides slightly more surface protection but is not completely smooth. This level may work well behind tile installations or in garages.
Level 3 Finish
Level 3 drywall finish includes additional coats of joint compound with smoother sanding. It is commonly used for walls receiving textured finishes. Textured walls help hide small imperfections and reduce visible seam lines.
Level 4 Finish
Level 4 is the most common finish used in residential homes. It provides smooth walls suitable for standard interior paint applications. Most homeowners choose this finish because it balances appearance and affordability.
Level 5 Finish
Level 5 drywall finish creates an ultra smooth surface by applying a skim coat across the entire wall. This level is ideal for glossy paint or bright lighting conditions. High end homes and commercial spaces often use Level 5 finishes for premium appearance.
Popular Drywall Texture Types
Smooth Finish
Smooth drywall finishes create a clean and modern appearance. However, they require careful sanding and high quality finishing because imperfections are easier to notice. Smooth walls are popular in modern homes with minimalistic interior designs.
Orange Peel Texture
Orange peel texture creates a subtle pattern similar to the surface of an orange. It is commonly used because it helps hide minor drywall imperfections. This texture is also easier to maintain than completely smooth walls.
Knockdown Texture
Knockdown texture uses sprayed compound flattened with a drywall knife. This technique creates a soft textured appearance with added depth. Many homeowners choose knockdown texture because it combines visual interest with easier maintenance.
Skip Trowel Texture
Skip trowel texture creates a more decorative and handcrafted appearance. It is often found in Mediterranean or rustic style homes. This texture can help add character and dimension to large wall surfaces.
Types of Drywall for Different Rooms
Standard Drywall
Standard drywall is commonly used in bedrooms, living rooms, and hallways. It works well in dry interior spaces with normal humidity levels.
Moisture Resistant Drywall
Bathrooms, kitchens, and laundry rooms often require moisture resistant drywall. This material helps reduce water damage and mold growth.
Fire Rated Drywall
Fire rated drywall provides additional fire resistance for garages and utility spaces. It helps improve overall building safety.
Soundproof Drywall
Soundproof drywall helps reduce noise transfer between rooms. It is commonly installed in home offices, bedrooms, and entertainment areas.
Common Mistakes to Avoid
Overtightening Screws
Driving screws too deeply damages the drywall paper and weakens the panel. This can lead to loose drywall and future cracking. Use consistent screw depth to maintain strong attachment without tearing the surface.
Poor Measurements and Cuts
Incorrect measurements create large gaps and uneven seams. This increases finishing time and reduces the quality of the final appearance. Measure carefully before cutting each drywall panel.
Rushing the Finishing Process
Joint compound requires proper drying time between coats. Applying thick layers too quickly often causes cracking and uneven surfaces. Thin layers with careful sanding create smoother and more professional results.
Skipping Primer Before Painting
Drywall should always be primed before painting. Primer helps seal the surface and improves paint adhesion. Skipping this step can lead to uneven paint coverage and visible patches.
READ ALSO: Seasonal Maintenance Checklist from a Trusted Handyman
Conclusion
Proper drywall installation requires careful measurements, secure fastening, and smooth finishing techniques. For homeowners who want professional results without the hassle, Fixtman provides handyman services that deliver drywall installation for clean and long-lasting walls and ceilings.
Frequently Asked Questions
Is it better to glue or screw drywall?
Screws are preferred for long-term stability. Some installers use construction adhesive along with screws for extra support, but screws remain essential.
When hanging drywall, do you start at top or bottom?
For walls, starting at the top helps with alignment. For ceilings, always begin in one corner and work your way across.
What are two common mistakes made during drywalling?
Incorrect screw depth and poor seam taping are two of the most common causes of cracks and uneven finishes.
How do I get a perfect line between my wall and ceiling?
Use a level and T-square for accurate cuts, and install corner bead for a crisp, professional edge.
Can a beginner install drywall?
Yes, but beginners often struggle with measurements, fastening, and finishing. Professionals save time and help avoid costly mistakes.
What thickness drywall should I use
Half inch drywall is commonly used for interior walls. Ceilings sometimes require thicker drywall for improved strength and sag resistance.
How Long Does Drywall Installation Take?
Drywall installation timelines vary depending on room size and project complexity. A single room may take one to two days for hanging drywall panels.